In this post, you are going to learn how to create a basic calculator app and add it as a plugin to your Google Chrome browser which helps to do instant calculations.
Pre-requisites:
- VS Code editor
- Google Chrome Browser
- Basics about HTML, CSS and Javascript
Eight steps to create a basic calculator app as a Google Chrome extension
Note:
Always try to maintain a separate folder for every individual project.
Step:1 Creating manifest.json file:
Firstly create a manifest.json file and mention the required permissions as shown below.
{
 "name": "calculator", //name of your project
 "version": "1.0",
 "manifest_version": 2,
 "content_scripts": [
   {
     "matches": ["<all_urls>"],
     "js": ["script.js"] //your script file name
   }
 ],
 "browser_action": {
   "default_popup": "index.html", //your html document
   "default_title": "Js calculator" //your html document title
 },


"permissions": ["tabs"]
}
Step:2 Prepare an HTML Document
Develop your calculator application, firstly prepare an HTML document with required fields.
Here is my HTML document body structure.
<div class="calculator">
     <div class="in1">
       <input type="text" placeholder="input1" id="firstNumber" />
     </div>
     <div class="radios">
       <input type="radio" id="add" name="group1" value="add" />
       <label for="add">addition(+)</label> <br />
       <input type="radio" id="sub" name="group1" value="subtract" />
       <label for="add">subtraction(-)</label> <br />
       <input type="radio" id="mul" name="group1" value="multiply" />
       <label for="add">multiplication(*)</label><br />
       <input type="radio" id="div" name="group1" value="divide" />
       <label for="add">division(/)</label>
     </div>
     <div class="in2">
       <input type="text" placeholder="input2" id="secondNumber" />
     </div>
     <div class="res">
       <p id="ans"></p>
     </div>
     <div class="btn">
       <input class="calc" type="button" id="calculation" value="Calculate" />
     </div>
   </div>
Step:3 Javascript Code
Refer to the below code to write the functionality using javascript.
let calculate = document.getElementById("calculation");

   let addition = document.getElementById("add");
         let subtract = document.getElementById("sub");
         let multiply = document.getElementById("mul");
         let divide = document.getElementById("div");
         let firstNumber = document.getElementById("firstNumber");
         let secondNumber = document.getElementById("secondNumber");

         calculate.addEventListener("click", operation);
         function operation() {

if (addition.checked) {
            addNumbers();
           } else if (subtract.checked) {
             substractNumbers();
           } else if (multiply.checked) {
             multiplyNumbers();
           } else if (divide.checked) {
             divideNumbers();
           }
         }

         function addNumbers() {
           let solution = parseInt(firstNumber.value) + parseInt(secondNumber.value);
           return (document.getElementById("ans").textContent = "Result is " + solution);
         }
         function substractNumbers() {
           let solution = firstNumber.value - secondNumber.value;
           return (document.getElementById("ans").textContent = "Result is " + solution);
         }
         function multiplyNumbers() {
           solution = firstNumber.value * secondNumber.value;
           return (document.getElementById("ans").textContent = "Result is " + solution);
         }
         function divideNumbers() {
           solution = firstNumber.value / secondNumber.value;
           return (document.getElementById("ans").textContent = "Result is " + solution);
         }
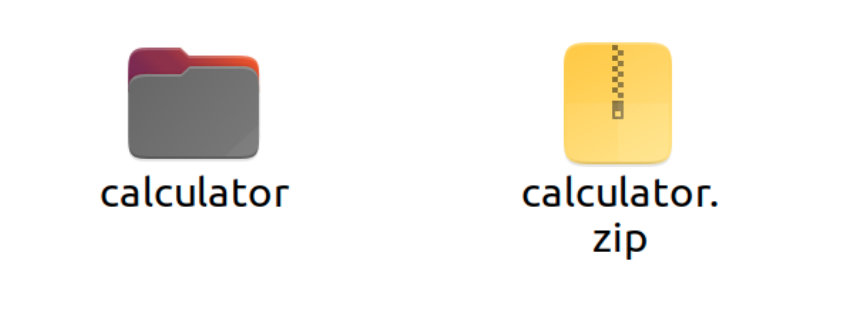
Step:4 Compressing zip file
After completion of your code, then compress it as a zip file by giving a right-click on the folder you can see the compress option and select it. After that, a zip file will be saved in your project folder as shown below.
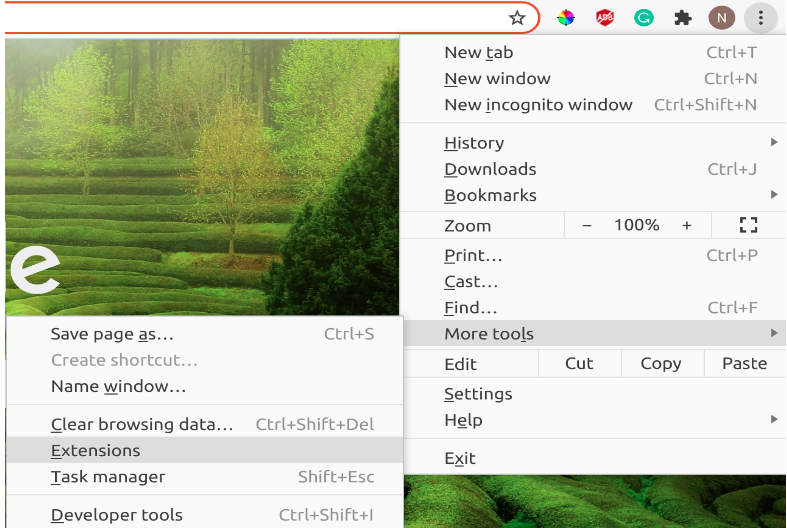
Step:4 Navigate to Google Chrome extension
Go to chrome and open settings, and navigate to extensions as shown below.
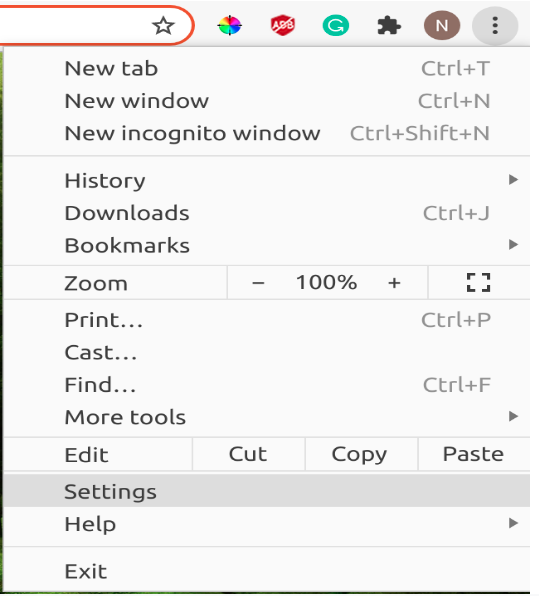
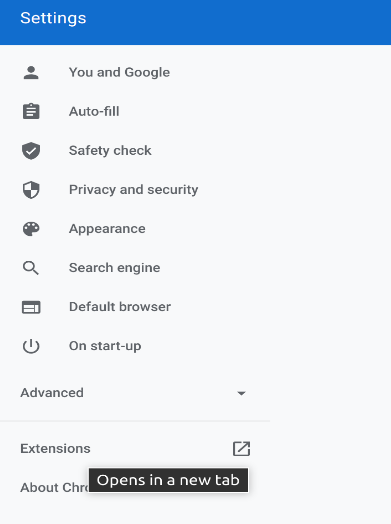
Or you can directly select extensions from more tools, it can directly take you to the extensions window.
The extension window appears like this.
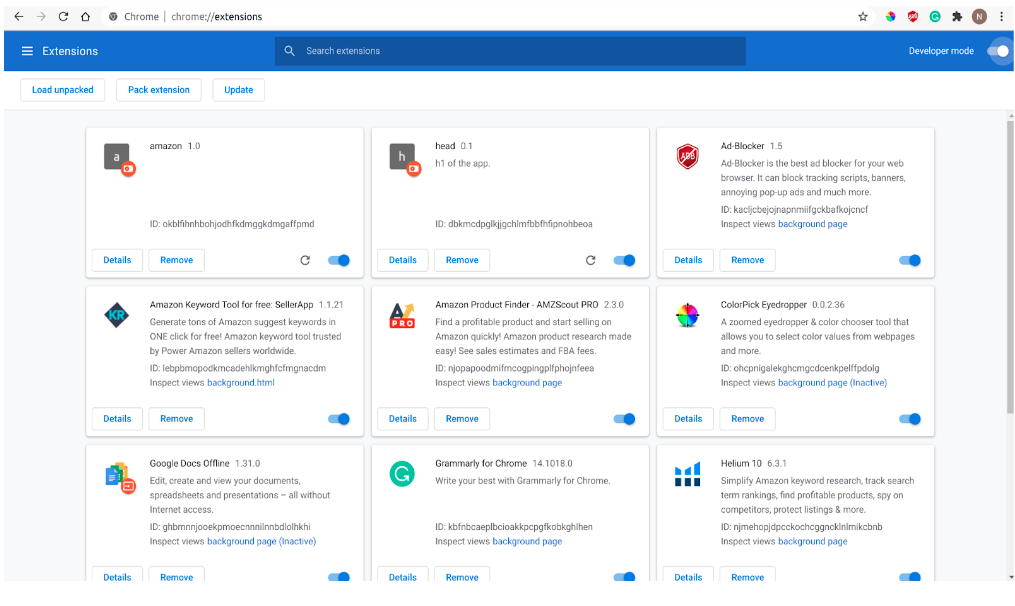
Step:6 Load a zip file
Now enable developer mode at the top right corner and select the load unpacked option at the top left corner, then navigate to the location of your zip file of the calculator program and open it.

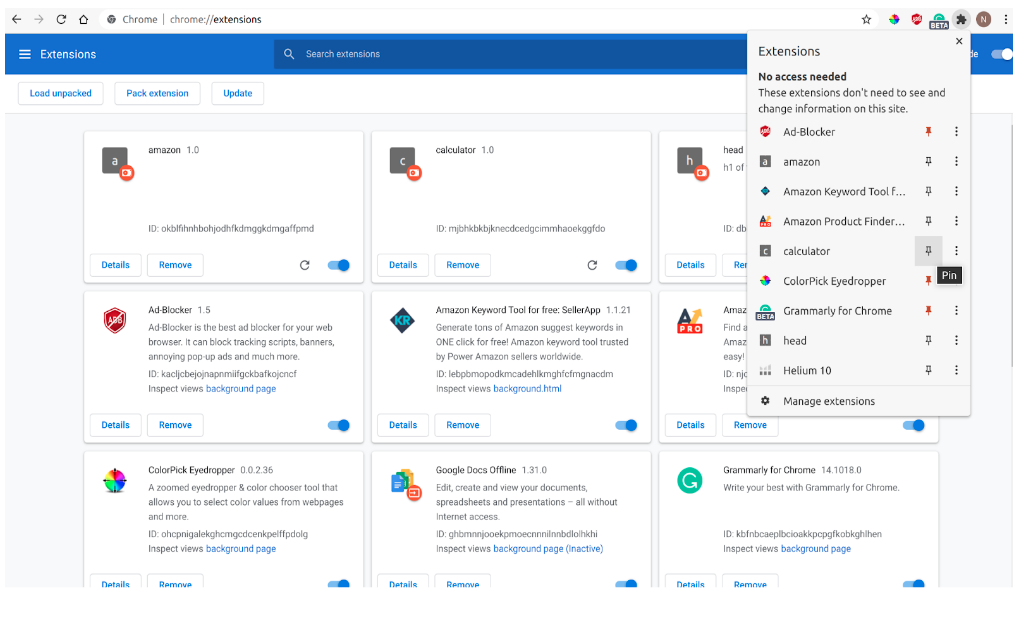
Then the extension will be added to your chrome and look like this.

Step:7 Pin Extension
Now select the extension button at the top and pin your project file. then a small icon will be displayed in your chrome.
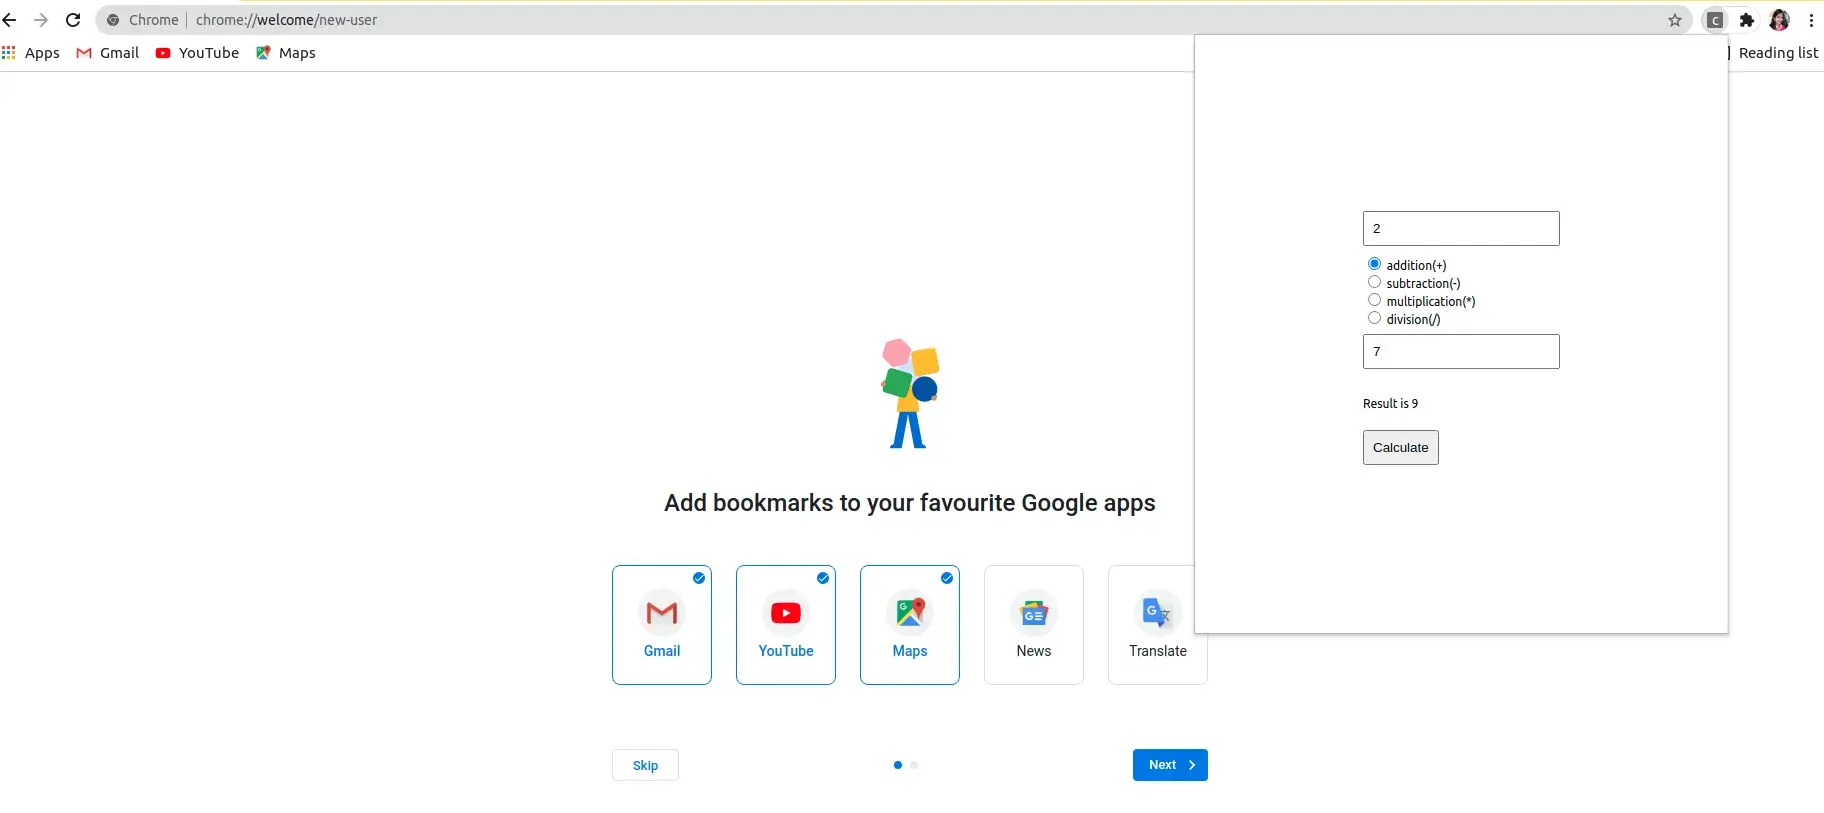
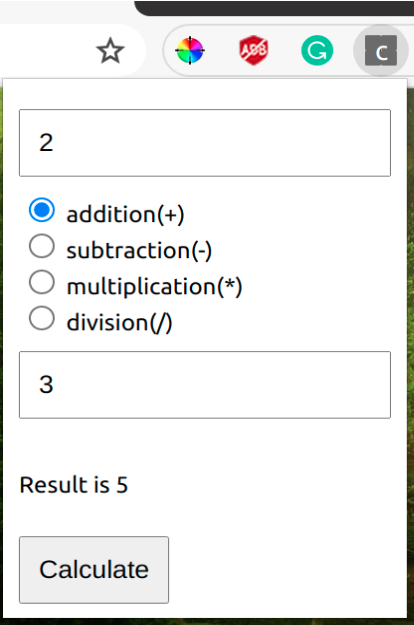
Step:8 Using Extension
In new window:
A small icon will be displayed in your chrome extension bar. So that you can open your project at any chrome window.
In any other chrome window

Conclusion:
That’s all guys with these simple steps you can create your own chrome extensions for any project and you can access your application at any window. With these steps, you can start adding extensions to your chrome, go on, and get started 😄.
It’s pleasure to see you here🤗! Hope you learned something from this article. Let me know if there's an issue or if I have missed something. Happy learning🙌!
FAQ
What is meant by JSON?
JSON defines Javascript Object Notation and it is a format of the standard text-based object for representing the structured data. The purpose of using JSON is to transmit data into web applications from the server.
What type of data does the manifest file can hold?
A manifest file can hold metadata of the application, the permissions that we are going to access through the extension, and some predefined properties.
Can I load the file without converting it into a zip file?
No, you cannot load a file in Chrome without compressing it into a zip file, but you can load a JSON file in firefox without converting it into a zip file.
What type of projects that I can add to chrome as an extension?
Some global projects like that can help you for reading any instant data from the current page or to calculate some values instantly or any other applications that you frequently use for some purpose. Chrome extension is a shortcut of using some applications without opening the same project again and again.
Will the extension could work on any window?
Yes, the project that you added as a browser extension could appear in all the new tabs or a new window and does the same functionality as how you wrote.

Comments