A step-by-step guide to develop a functional To-Do application using HTML, CSS, and JavaScript where the user inputs will store on the browser's local storage.
This to-do app can store the given information in the browser’s local storage and will not be removed until the user removes it. In this blog, I’m going to explain how to create a simple to-do app using JavaScript with the help of the browser’s local storage
To get started we need to create the required HTML, simple UI with CSS, and finally the functionality of the app using JavaScript.
HTML for the project
index.html
<!DOCTYPE html>
<html lang="en">
  <head>
    <meta charset="UTF-8" />
    <meta http-equiv="X-UA-Compatible" content="IE=edge" />
    <meta name="viewport" content="width=device-width, initial-scale=1.0" />
    <title>Todo App with Local Storage</title>
    <link rel="stylesheet" href="./style.css" />
  </head>
  <body>
    <div class="container">
      <h1>Todo App with Local Storage</h1>

      <form class="todo-form">
        <input type="text" id="todo-input" placeholder="Add a Todo..." />
        <button type="submit" onclick="addTodo()" id="addButton">Add</button>
      </form>

      <ul id="todo-list">
        <p id="list"></p>
      </ul>
    </div>
    <script src="./script.js"></script>
  </body>
</html>
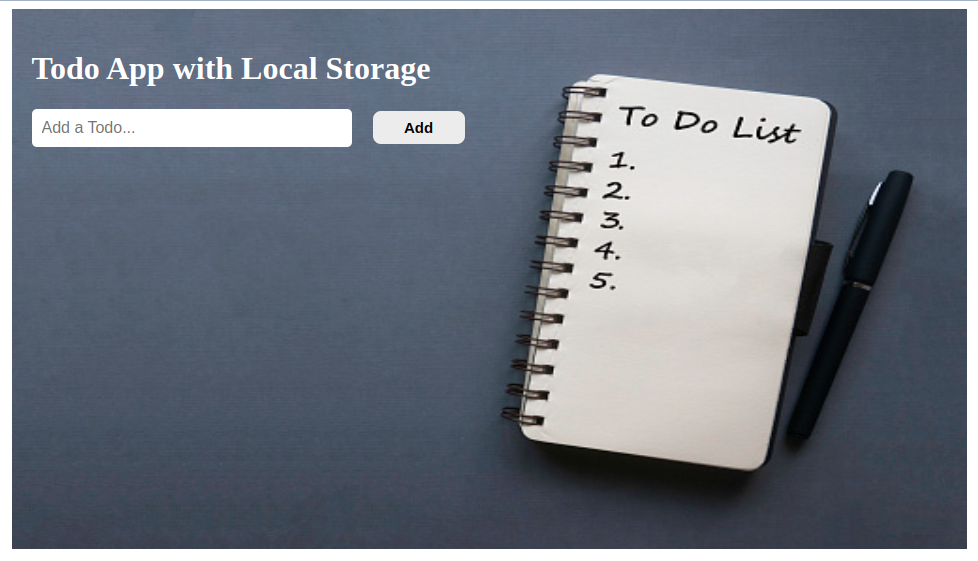
Let us have a look at our project without CSS and JS.
It is just a simple heading, input, and submit button. Now will move to UI. apply the below CSS in your style.css file and check for results.
Adding colors to our project
style.css
.container {
  max-width: 50%;
  margin: 0 auto;
  background: url("./todo.jpg");
  /* background credits to unsplash images */
  background-repeat: no-repeat;
  background-size: 100% 100%;
  height: 500px;
  color: #fff;
  padding: 20px;
}
.todo-items li {
  list-style-type: none;
}
.none {
  border: none;
  margin-left: -13rem;
}
#todo-input {
  padding: 10px;
  padding: 10px;
  border-radius: 5px;
  border: 0;
  width: 300px;
  max-width: 100%;
  font-size: 16px;
}
#addButton,
.remove {
  padding: 8px;
  width: 92px;
  border-radius: 8px;
  background: #ececec;
  border: 0;
  font-weight: bolder;
  font-size: 15px;
  margin: 0 17px;
}
#todo-input:focus {
  outline: none;
}
#todo-list li {
  list-style-type: upper-roman;
  font-size: 17px;
  font-weight: 700;
  margin: 15px 0;
}
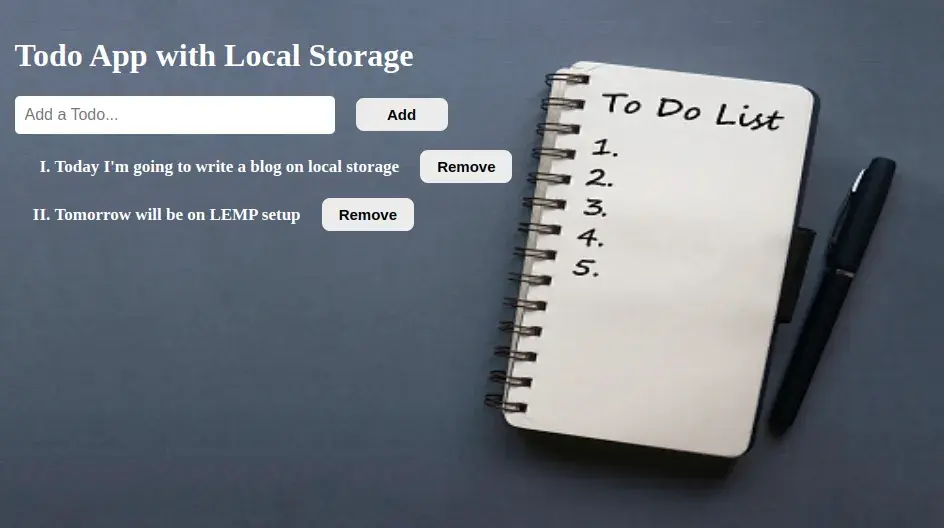
Here is the screenshot of our project after applying the CSS for your reference.

JavaScript functionality with Local storage
Here is the actual functionality of our app using JavaScript. In your script.js file add the following code and check for the results. Here is an article that describes the usage of LocalStorage
Script.js
var items = JSON.parse(localStorage.getItem("todo-list")) || [];
function addTodo() {
  var inputBox = document.querySelector("#todo-input");
  var item = inputBox.value;
  if (item === "")
    return (document.getElementById("list").innerHTML =
      "You need to put in a number");
  items.push({
    value: item,
  });

  localStorage.setItem("todo-list", JSON.stringify(items));
  listItems();
  inputBox.value = "";
}

function deleteItem(index) {
  items.splice(index, 1);
  localStorage.setItem("todo-list", JSON.stringify(items));
  listItems();
}

function listItems() {
  var list = "";
  for (var i = 0; i < items.length; i++) {
    list += "<li>";
    list += items[i].value + " ";
    list +=
      "<span onclick='deleteItem(" +
      i +
      ")'><button class='remove'>Remove</button></span></li>";
  }
  document.querySelector("#todo-list").innerHTML = list;
}

(function () {
  listItems();
})();
Now we will analyze the final results of our project. You can even see the result with this git page https://kosarajunavya.github.io/Jstasks/task5/index.html.
Analysis of final results
After giving the list of your to-do things, you need to check whether the input is stored in your browser’s local storage or not. You can check in this way. Open your project inspect the web page, go to the Applications tab as shown below.

After that on the left side of your browser, you can see the local storage tab expand that and open the file. So whatever you have added in the input that will be stored here, won’t get deleted until the user clicks on the remove button.

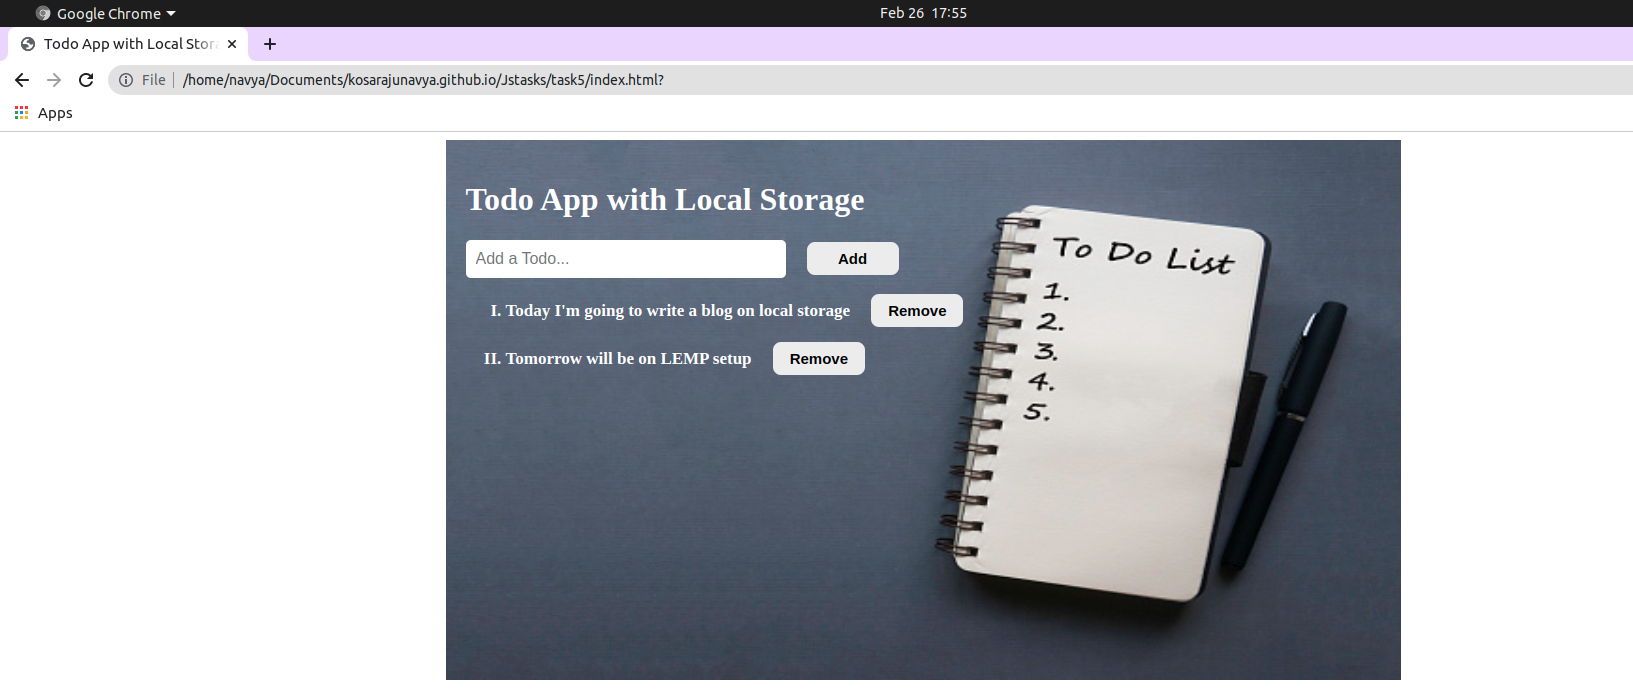
Now I will open our app on the day of Feb 26th and will enter a to-do list. Here is the screenshot for your reference.

At the top, you can see the date and time of the project. Now I don’t remove the list and leave it as it is for today. I’m closing the entire browser window.
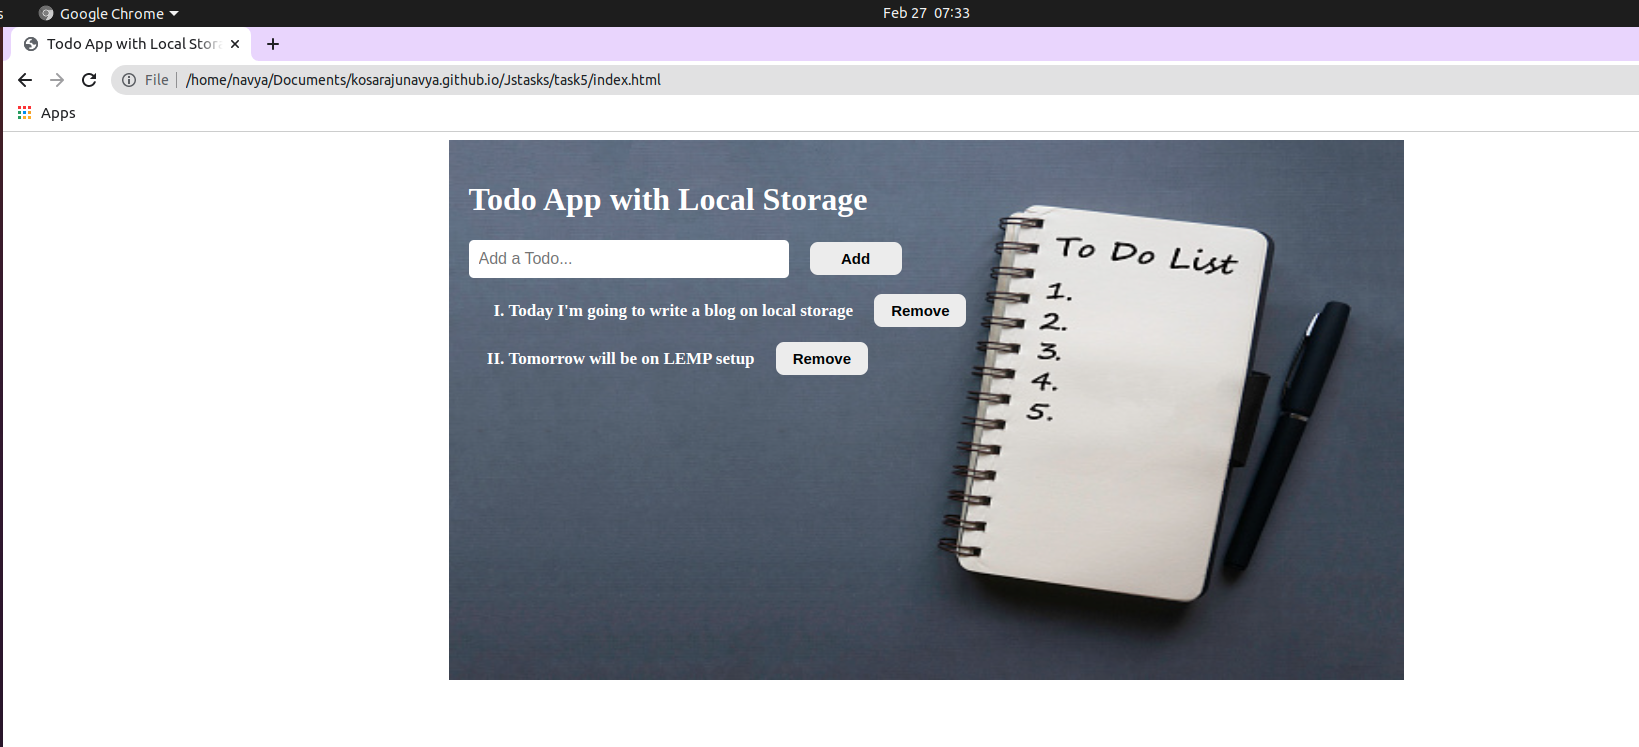
If I open the same file in next day the list will be the same and in the below screenshot you can see the result. Just compare the date at the top. You can this entire project on my GitHub. you can create Github pages so that they can be globally accessible. Here is an article that guides you to create GitHub pages.
You can also create this to-do app as a desktop application with Electron JS. Grab the steps to create a desktop app here.
Finally, I want to conclude that we have created a simple to-do app that can be the reference for our workflow. Hope you have learned something from the article with qualified information. Let us know your queries in the comments, will reach out to you very soon.


Comments