Step-by-step instructions for setting up a power-packed environment with Linux as OS, Nginx as the server, MySQL as the DBMS, and PHP as a scripting language.
In this blog, you are going to learn how to set up LEMP in Ubuntu through the command line.
You need to be more careful while configuring this LEMP stack because small mistakes can make a big loss for the website. So guys, follow each and every step carefully and configure LEMP in your Linux machine, and if you are stuck somewhere and are not on track comment on your error will respond soon.
Aim of the blog
- Installing Ubuntu
- Nginx installation
- MySQL-server setup and Database configuration
- PHP installation
- Nginx configuration to use PHP processor
- LEMP stack validation by creating a simple PHP file
Step-1: Installing Ubuntu
At the very initial step, we need to have the Linux-based Ubuntu OS. Here is an article that will guide you to configure the ubuntu installation.
Click here for the Ubuntu installation procedure.
Step-2: Nginx installation
Let’s get started with Nginx installation. Make sure that you are with a Linux machine with Ubuntu. At the very begging step, we should upgrade all the packages and the command is
$ sudo apt update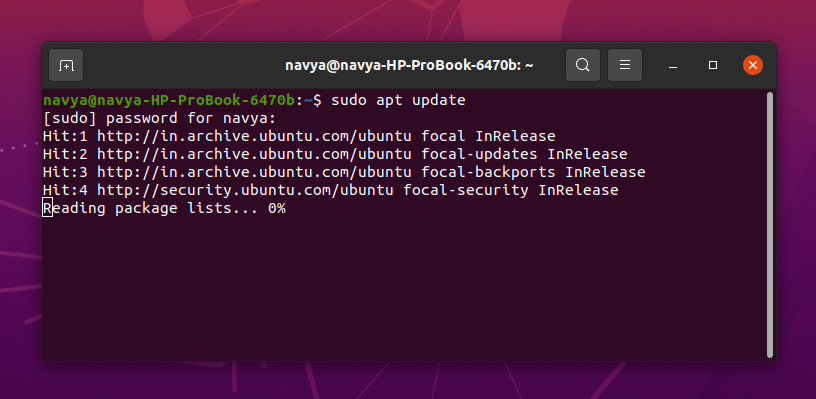
Nginx is a very powerful and secure web server that can act as a reverse proxy, load balancer, and HTTP cache. To install the server the command is
$ sudo apt install nginx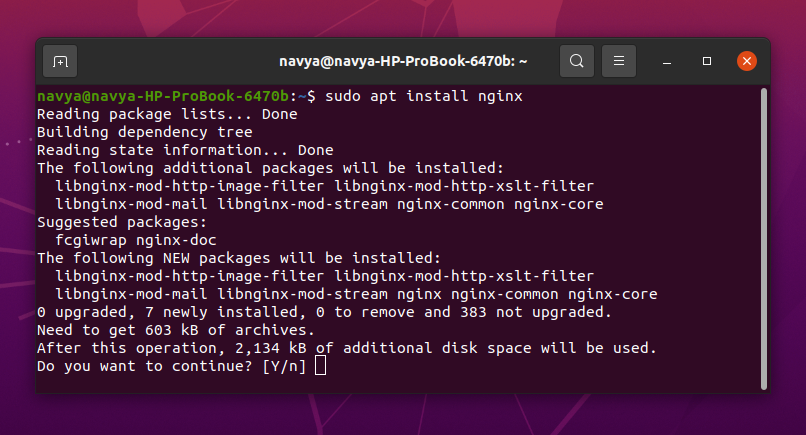
After successful installation of nginx, we need to enable the ufw firewall and we need to allow the required HTTP traffic. We can do this with the following command.
$ sudo ufw allow ‘Nginx HTTP’
Then we need to check the status of the activity with the following command
$ sudo ufw status
Here you are seeing the results as inactive, this is because the ufw firewall may not be enabled in your Ubuntu machine. If it is enabled then the results could be active.
So you can enable the firewall using the following command
$ sudo ufw enable #then check for status
$ sudo ufw status
You can see the results in the below screenshot
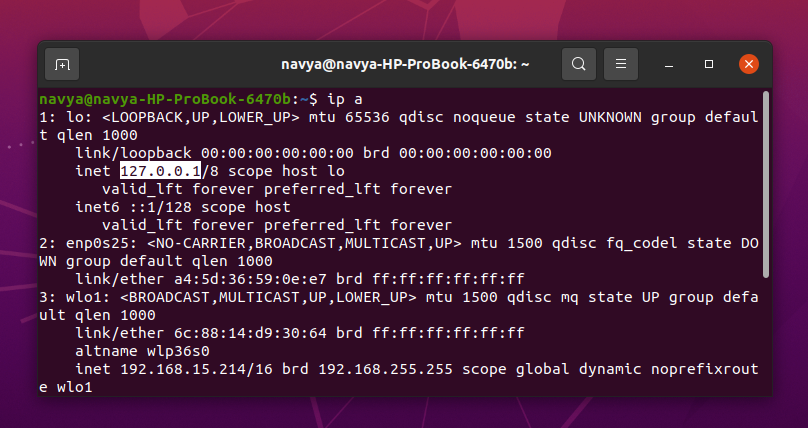
After allowing the HTTP traffic successfully, you need to know about your server ip address and you can get it with the below command.
$ ip aYou can take the IP address. Refer to the below screenshot, the highlighted one is the required ip.
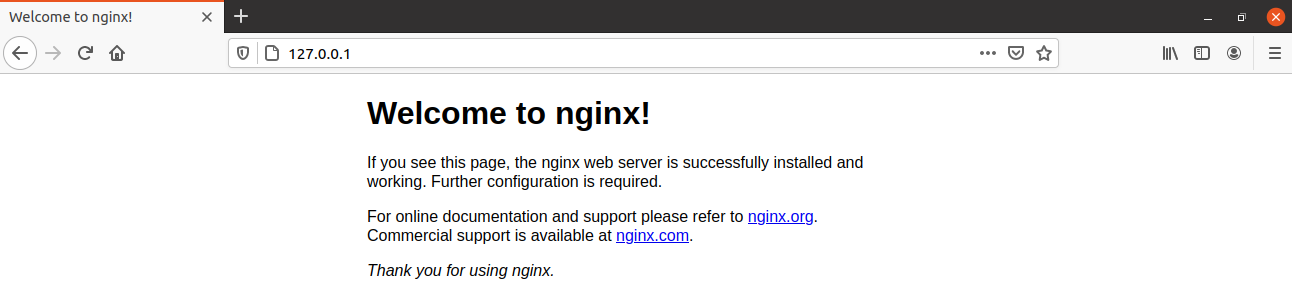
After getting that, go to your browser, in the url type the server ip. If you see the web page given below then you have installed the server successfully.
Url should be http://your_domain_or_ip/
If you won’t get the above screen in your browser, then you may need to enable the required configurations. Please give your error in the comments will reach you.
Step-3: MySQL setup and Database configuration
We have successfully installed the nginx server, now it’s time for MySQL. MySQL is an open-source relational database management system that is used to manage the website data from the backend and can be installed with the following command.
$ sudo apt install mysql-server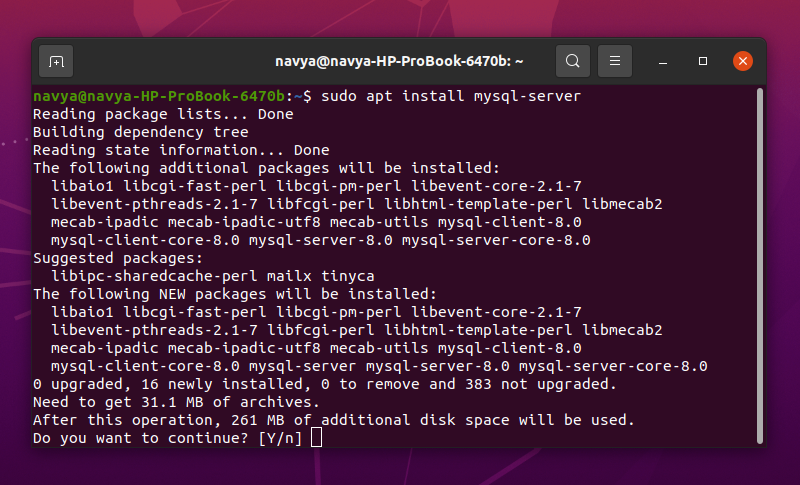
Give the letter y at the command line to install further configurations and packages. 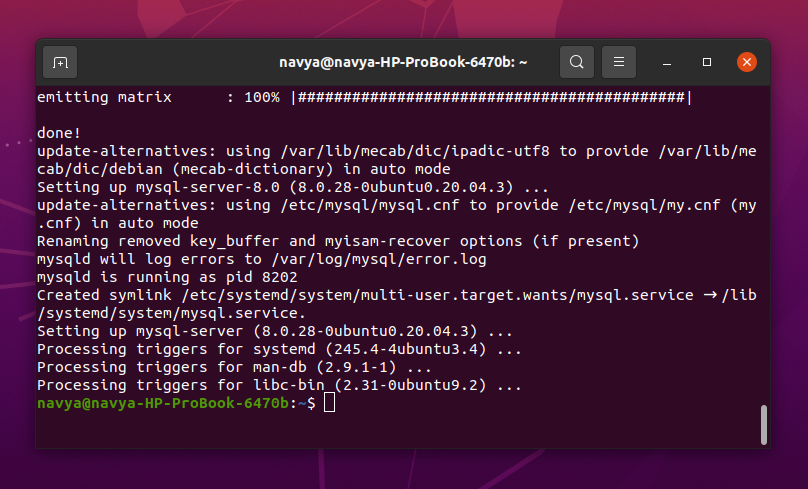
The above screenshot shows the successful installation of mysql. We have just installed the mysql server and the next step is to configure the database. To do so we need to secure installation and the command is
$ sudo mysql_secure_installation
The secure installation will protect the database from external access after this the database will ask for some configurations if you need them then go for y or else ignore them. Here are the screenshots for your reference.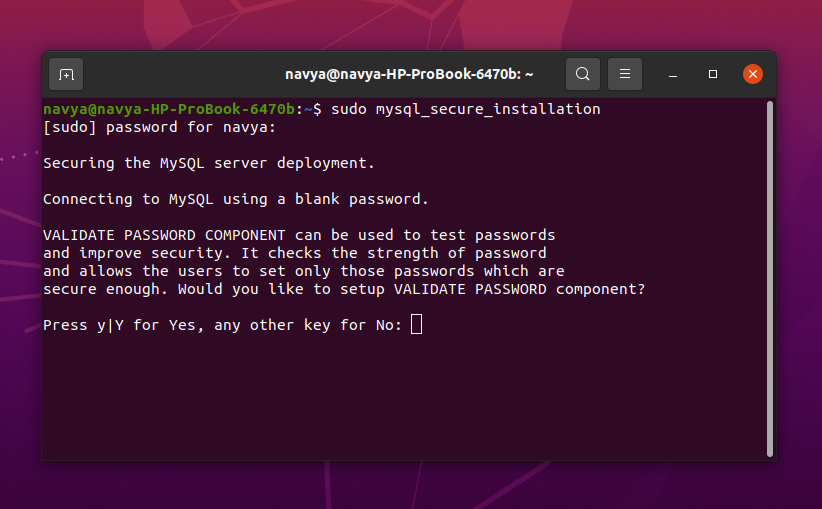
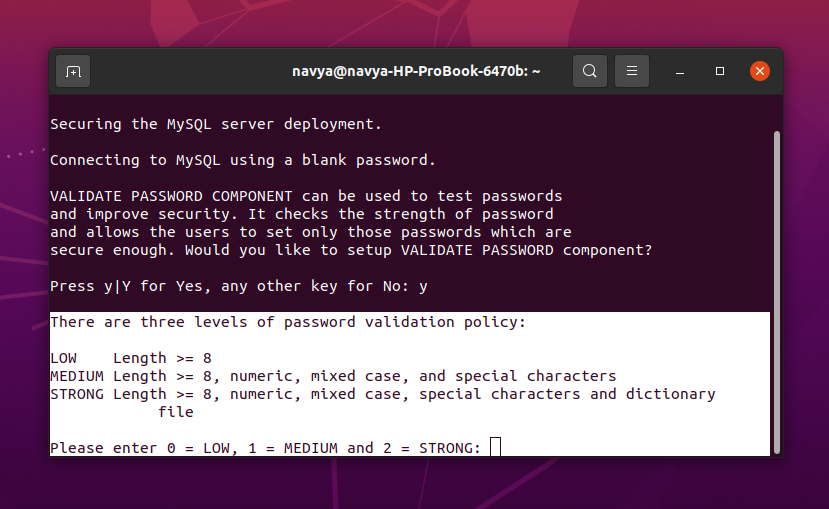
Give the strong value 1.
Set the password for the root.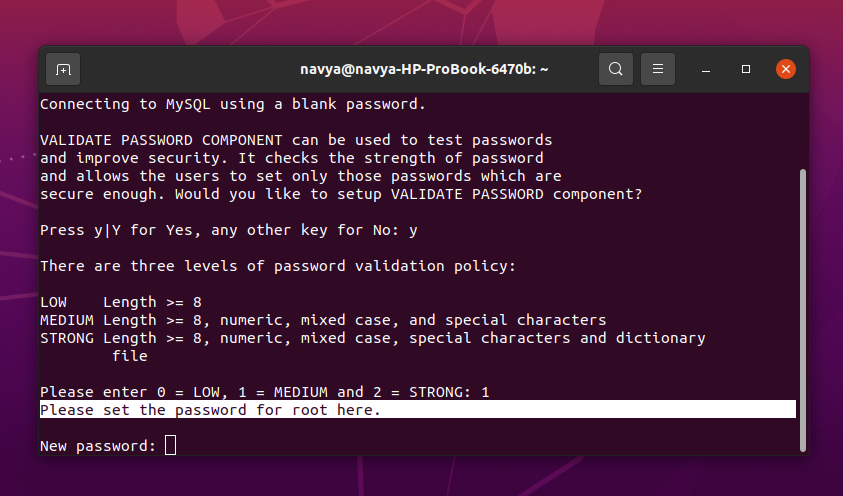
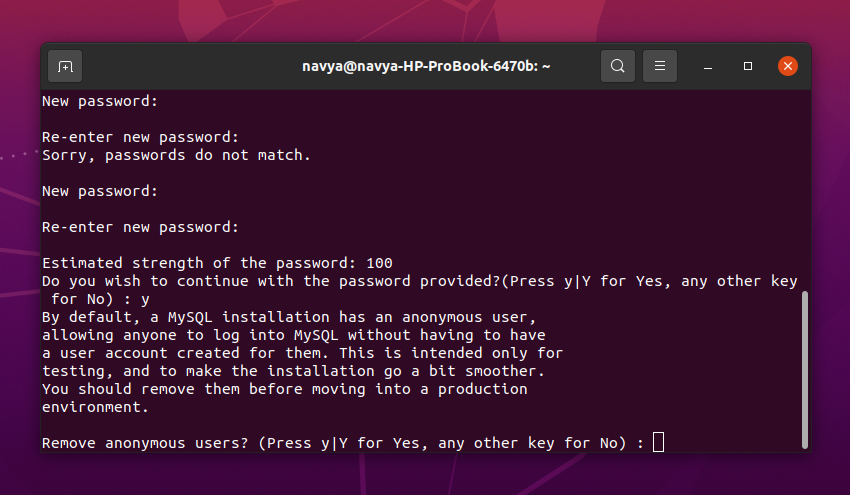
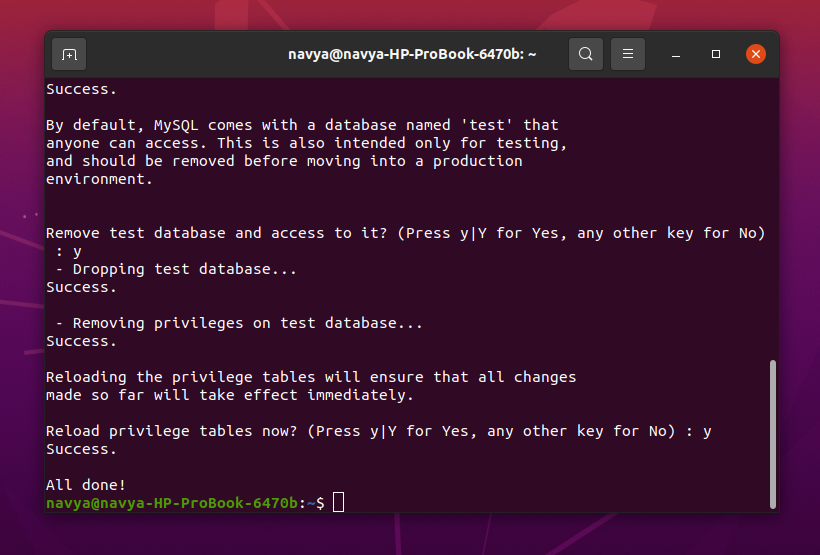
Keep on reading the configurations and give the commands either y or n, then, after all, you will see the final setup as shown in the above screenshot.
Now if you access with the root user, depending upon the configurations that you have selected in the secure installation, the SQL will act. For example as per my settings if accessed with the root user directly it throws the error message as shown in the below screenshot.
Once the installation and rest of the settings are done, we need to make sure that the authentication method for the mysql users. To do so, here are the commands
First login to your mysql with sudo, if it throws any error you need to log in with your password.
$ sudo mysql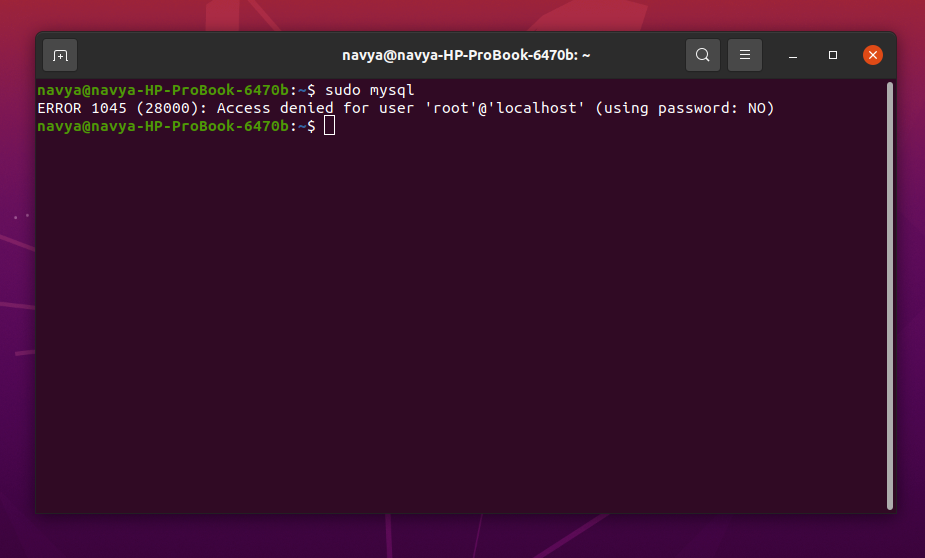
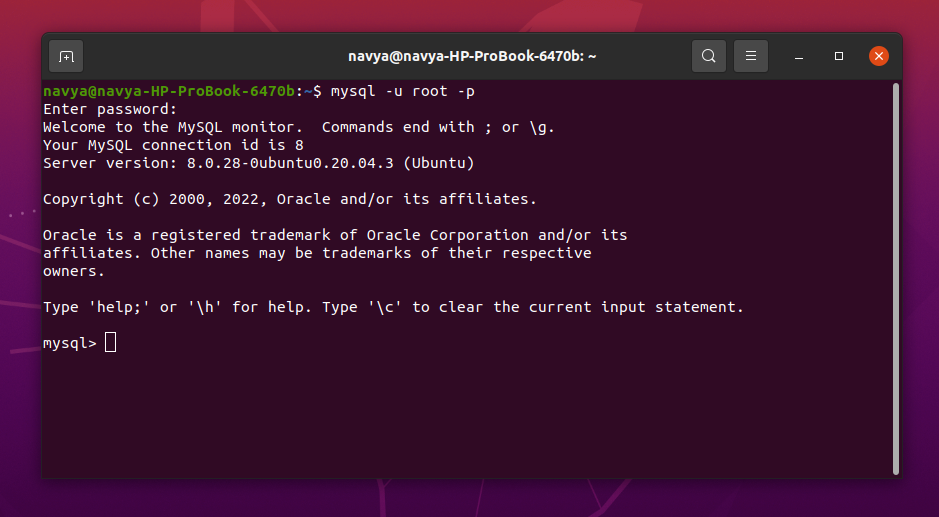
The error is access denied, so I need to access my database with the root user along with the password and the command is
$ mysql -u root -pThen it will ask for the SQL database password and will give the access, here is the screenshot for your reference.
After login, then you need to authenticate your user account, here is the way to do it, just enter the commands with appropriate your user name and password.
mysql> SELECT user,authentication_string,plugin,host FROM mysql.user;
mysql> ALTER USER 'root'@'localhost' IDENTIFIED WITH mysql_native_password BY 'your_root_password';
mysql> FLUSH PRIVILEGES;
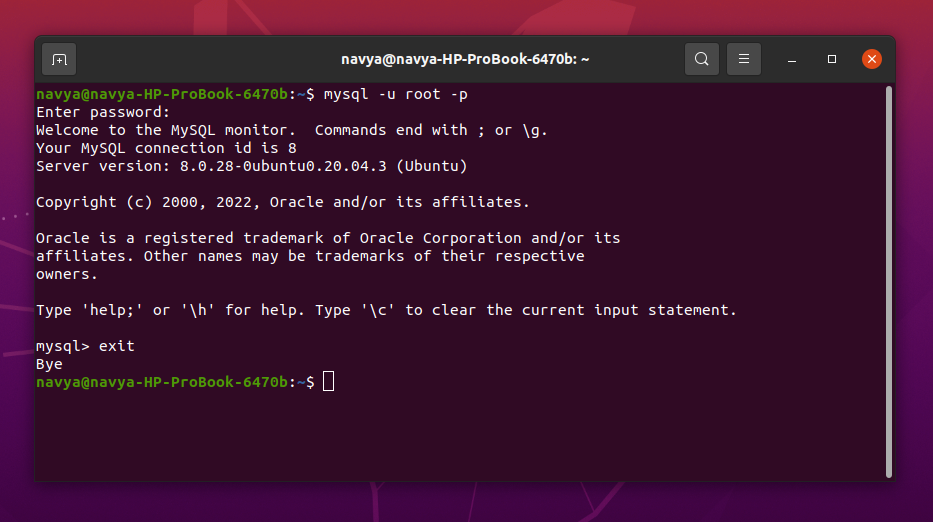
mysql> SELECT user,authentication_string,plugin,host FROM mysql.user;If you have done the authentication successfully, then do exit and go for PHP-mysql installation
So guys we are done with SQL installation and database configurations. So we have a server and database. To run the web application we need a scripting language and one of the best scripting languages to maintain websites in PHP. So, go for the next step for the final configuration in the LEMP setup
Step-4: PHP installation
As Nginx does not have native php processing like some other web servers, we need to install php-fpm and then will configure it with nginx.
$ sudo add-apt-repository universe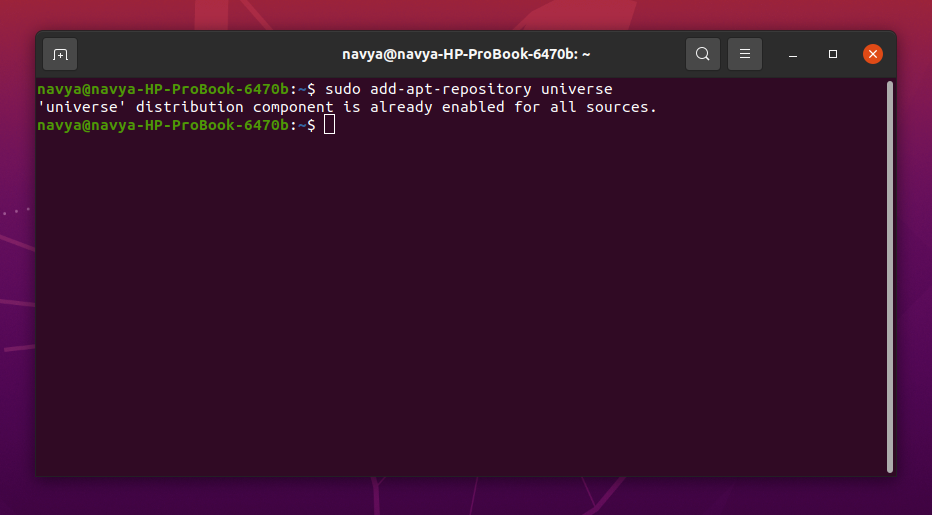
$ sudo apt install php-fpm php-mysql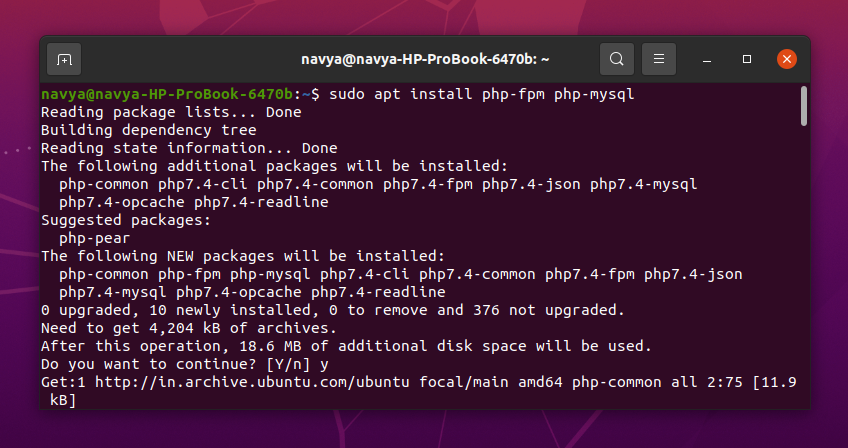
Step-5: Nginx configuration to use PHP processor
So finally we have all the LEMP stack, but still, we need some configurations to generate the dynamic content. Just follow the given instructions carefully.
Step:1: Create the local host file
you need to create one local site. In the given path create one local site and the command is
$ cd /etc/nginx/sites-available
$ touch first.local
And here is the code for you first.local file (first.local is you local site name)
Step: 2 Add the file to the hosts
Now create localhost in the hosts file
sudo nano /etc/hostsYour domain name and your local host file name
127.0.0.1 first.local
Step: 3 Enable the local host
Now you have created one local site in sites available path, then you should link this path to sites-enabled and the command is
$ sudo ln -s /etc/nginx/sites-available/first.local /etc/nginx/sites-enabled/
$ sudo nginx -t #checks for syntax errors
$ sudo service nginx restart or
$ sudo systemctl reload nginx # to reload server
Step:4 Create a php file
After making a symbolic link, then you need to create a php file in /var/www/html and we can create a php file with the below command
$ sudo nano /var/www/html/info.phpIn the nano editor paste the following code
<?php
phpinfo();
Then save and exit the file, after that restart your nginx.
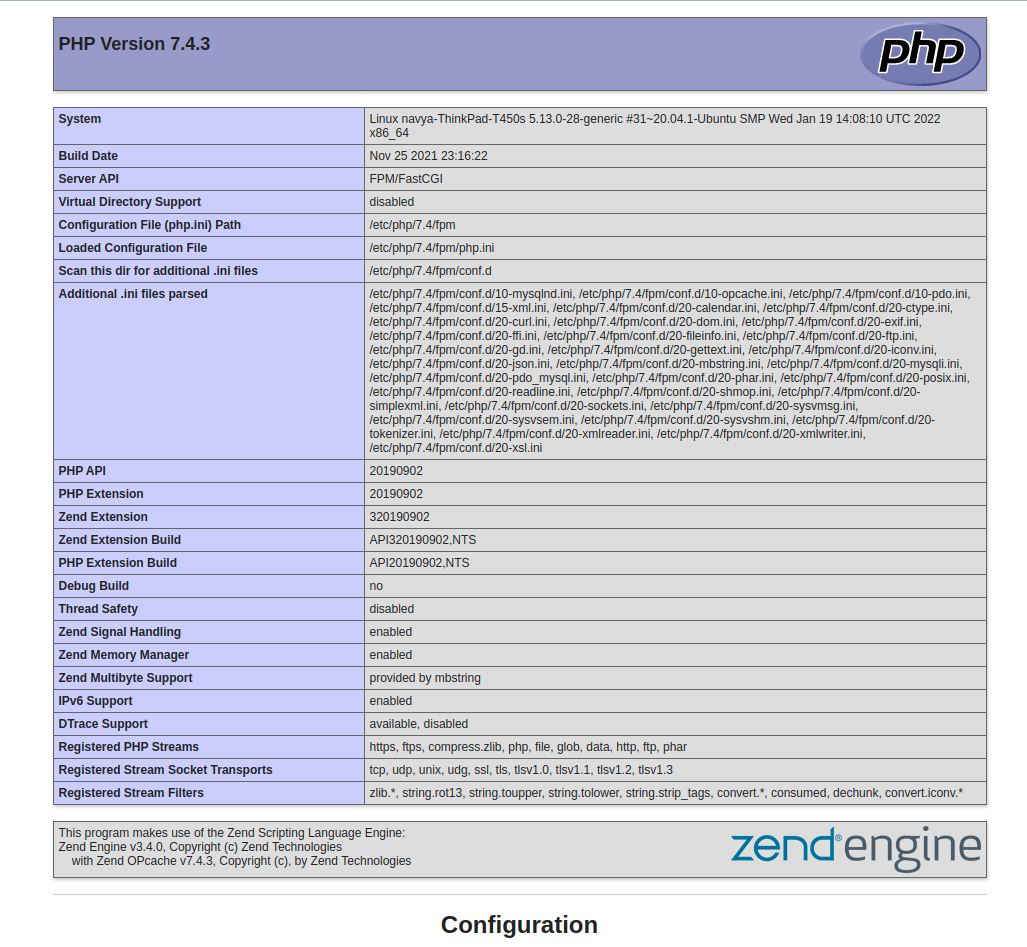
$ sudo service nginx restartStep: 5 Results
Then go to your browser and in the url enter your domain name or ip followed by your php file name. In our example, the url could be http://first.local/info.php. After entering the url if you see the below output then you are successfully done with your LEMP setup for your CMS websites.
Now you are ready to create local sites with LEMP servers. If you want to know how to create Drupal sites with a LEMP server here is an article that helps you. If you are facing any issues while installing of LEMP stack, please check the error log and try to understand what exactly the error is saying. If you can, then please fix that bug, if not please post your errors in the comments will reach out to you very soon. Here is the command to check the nginx error log.
tail -f /var/log/nginx/error.logConclusion
That’s great to hear that you have created the local site with a LEMP setup, if not, mentioning your bugs in the comments will give you the required solution. Thank you so much for reading this blog, hope you have received the required information.

Comments