
React is a powerful JS framework for building fast, interactive UI. Learn how to install React app and troubleshoot common installation issues on Ubuntu 22.
Installation Steps
For any type of application installation in Ubuntu, the initial step that we need to do is update all the packages in the software, and here is the command.
$sudo apt updateAfter successful upgradation, then check your node version, the upgraded react will work only on node version 14. Here are the commands that are used to install the node. I’m using curl to install the node packages. To know how to install curl click(Need to add snippet here) here.
$curl -sL https://deb.nodesource.com/setup_14.x | sudo bash -
$curl -sL https://dl.yarnpkg.com/debian/pubkey.gpg | gpg --dearmor | sudo tee /usr/share/keyrings/yarnkey.gpg >/dev/null
$sudo apt-get update && sudo apt-get install yarn
$sudo apt-get install gcc g++ make
$sudo apt-get install -y nodejs
$node -v
Error Fixes
After the above command, the terminal should display the node version as 14. If you get some error like a broken pipe or something like this dpkg-deb: error: paste subprocess was killed by signal (Broken pipe) then simply follow the below steps to get rid of that issue.
$sudo dpkg -i --force-overwrite <path of your nodejs_14.20.0-deb-1nodesource1_amd64.deb>
#example:
$sudo dpkg -i --force-overwrite /var/cache/apt/archives/nodejs_14.20.0-deb-1nodesource1_amd64.deb
$sudo apt -f install
$node -v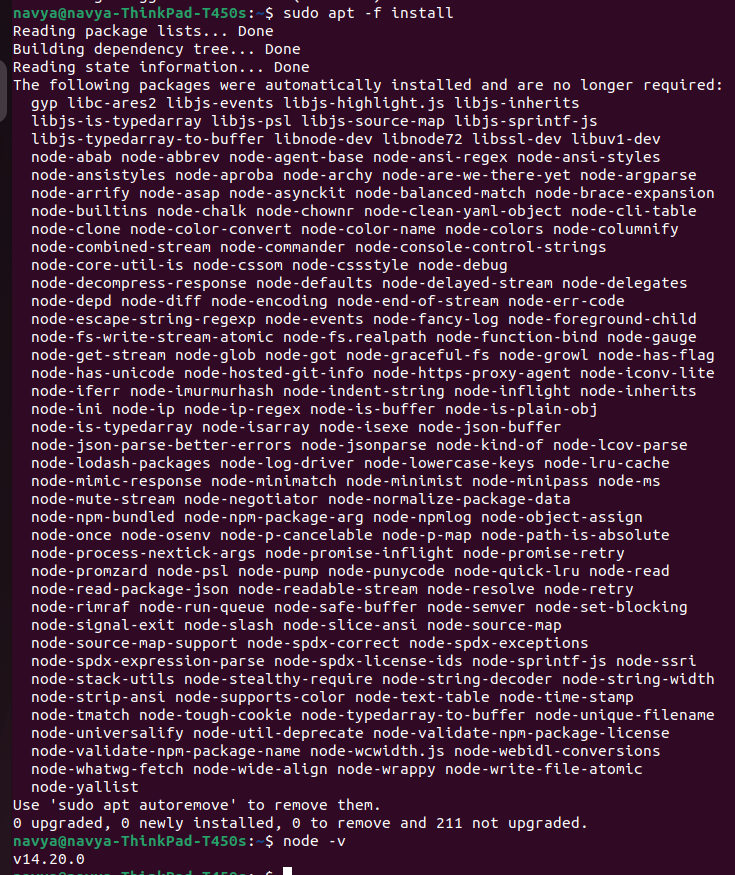
Results
I hope you have installed the node packages successfully with the latest version. Then navigate to your project folder and then hit the npx create react project command as given below.
#project folder in my machine
$cd /home/navya/Documents/react/project-react
$npx create-react-app project-react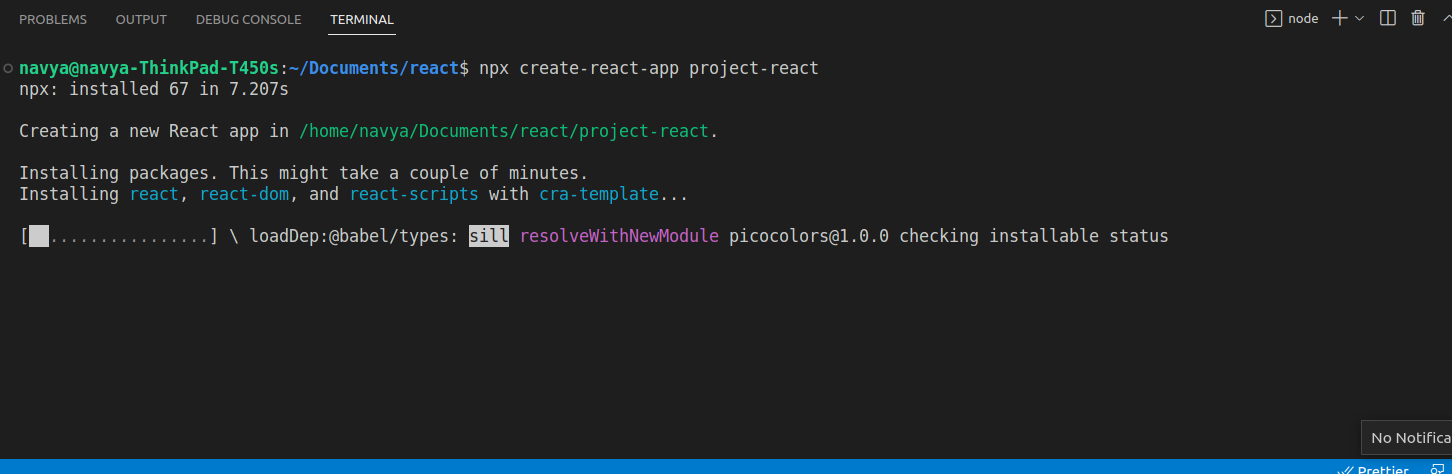
After successful installation, react will give you some hints for your next steps as shown in the below screenshot.
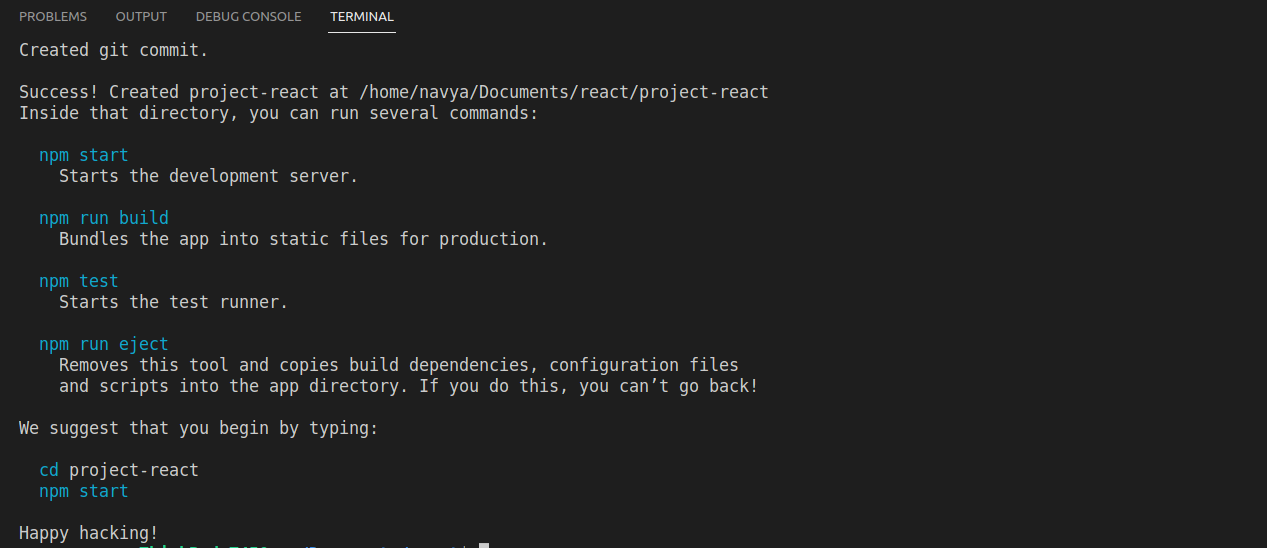
To run the react app, we need to navigate to the project-react folder and then do the npm start command as suggested. Here is a screenshot for your reference
$cd project-react
$npm start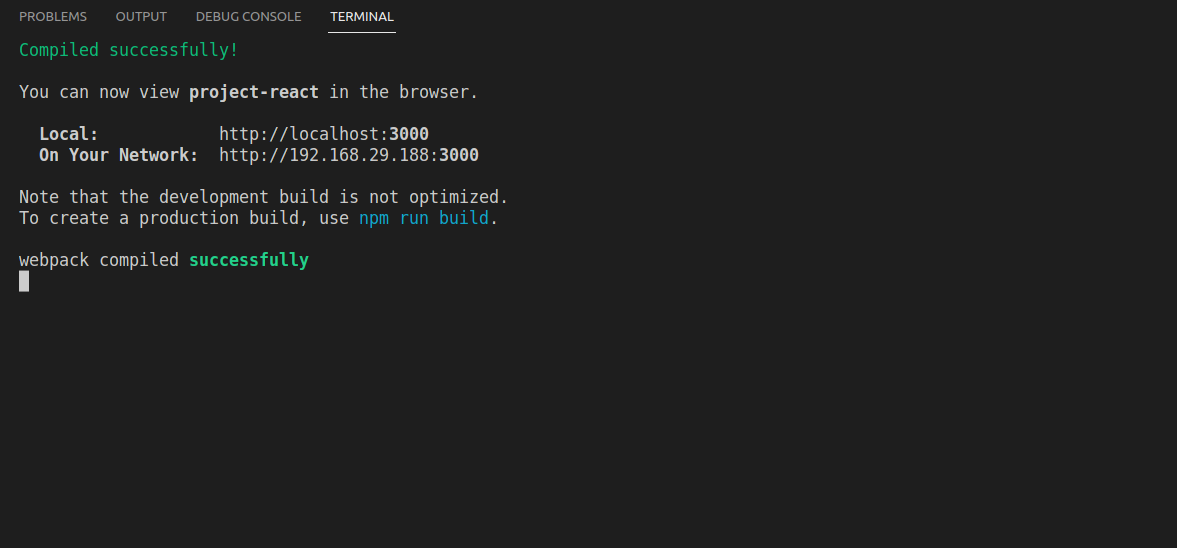
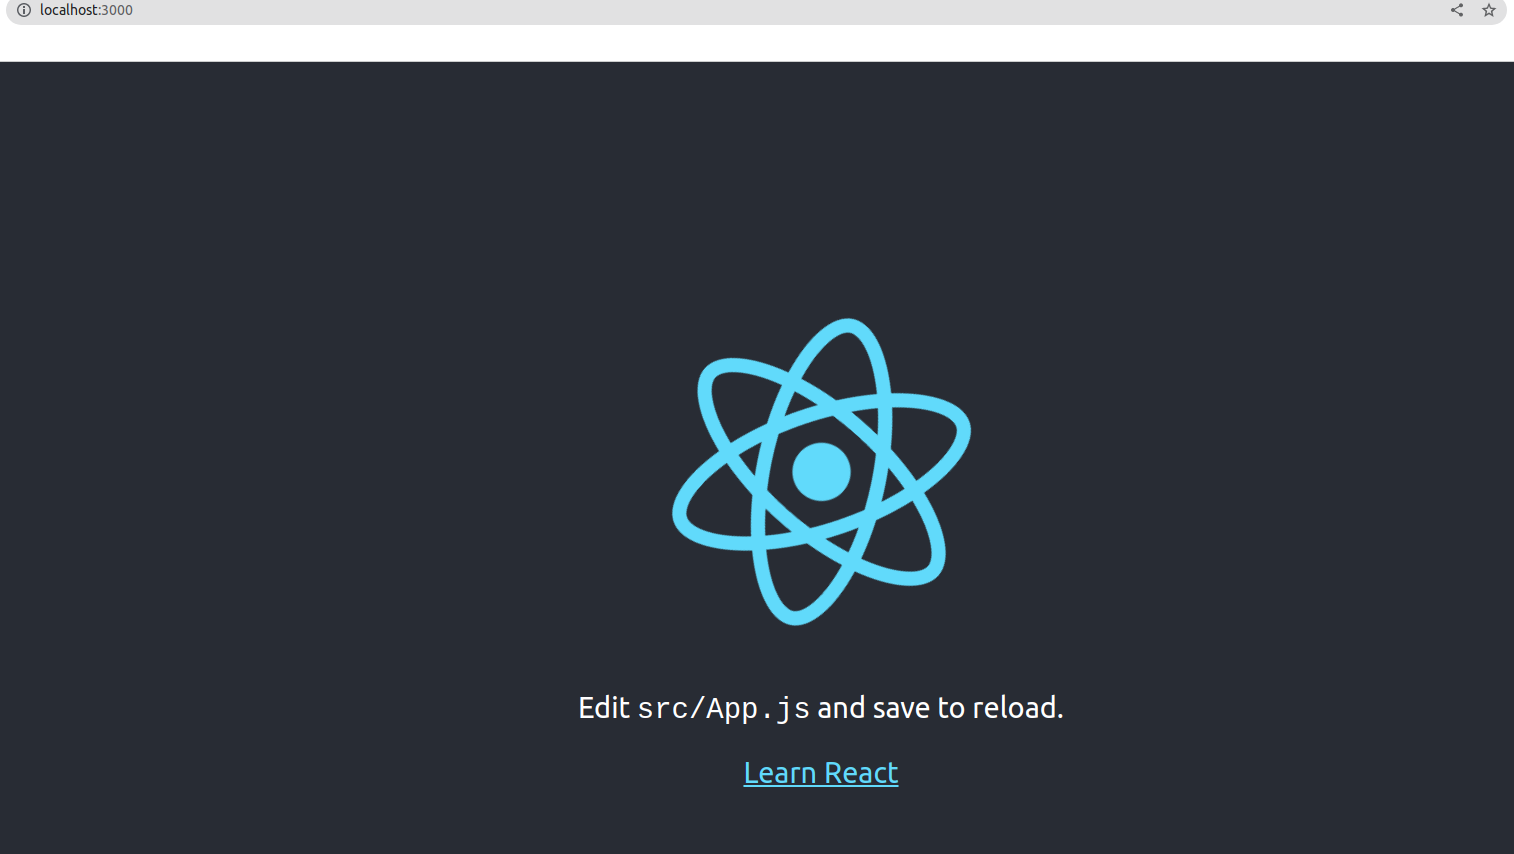
When the npm is compiled successfully, then in the browser the app will open as shown in the below screenshot.
Just observe the folder structure of the react project. There are some packages installed while doing the react app creation. Let’s analyze all the folders.
- There are some node modules, that are required only for the development process, whenever we deploy our code to production then we have to ignore that node module.
- We can see one public folder where all the images, robot.txt, and index.html files are configured. Please go through all the files just for knowledge purposes.
- There is an src folder, where all the app-related files are configured. Whatever the application level files are needed that as files for CSS, files for js, we can create one component folder and can write the required number of .jsx files as react products are component-level based application
- As we know that all the related and required packages are written in the package.json file and we have gitignore and package.lock.json files for the rest of the info about the app.
- Finally, readme.txt is the info file about the react.
Finally, I want to conclude that we have successfully created the react app with the above simple steps

Comments