Learn how to serve next-generation image formats using the Drupal Webp module, to avoid google audit failure for Drupal websites with the following article.
You can have a look at the release notes of Webb from Drupal org. In this blog, we are going to learn how to add webp image formats to the available image styles.
Download webp module
We have to download and enable the webp module. We have multiple methods to do this. So I’m going with the composer method. Here are the commands to download and enable the webp module.
#command to download the module
$ composer require 'drupal/webp:^1.0@beta'
#command to enable the module
$ drush en webp:^1.0@beta
If you are facing any issues while enabling the module with the command line, you can directly enable it with the drupal admin credentials. Just go this path /admin/modules or click on extend in the admin menu, search for your module, select the checkbox and at the end click on install.
Configuring webp format for the available image styles
After downloading the module, then we need to add the webp format for all the available image formats. So in this example, I’m having the three image styles for all those we are going to add the webp format.
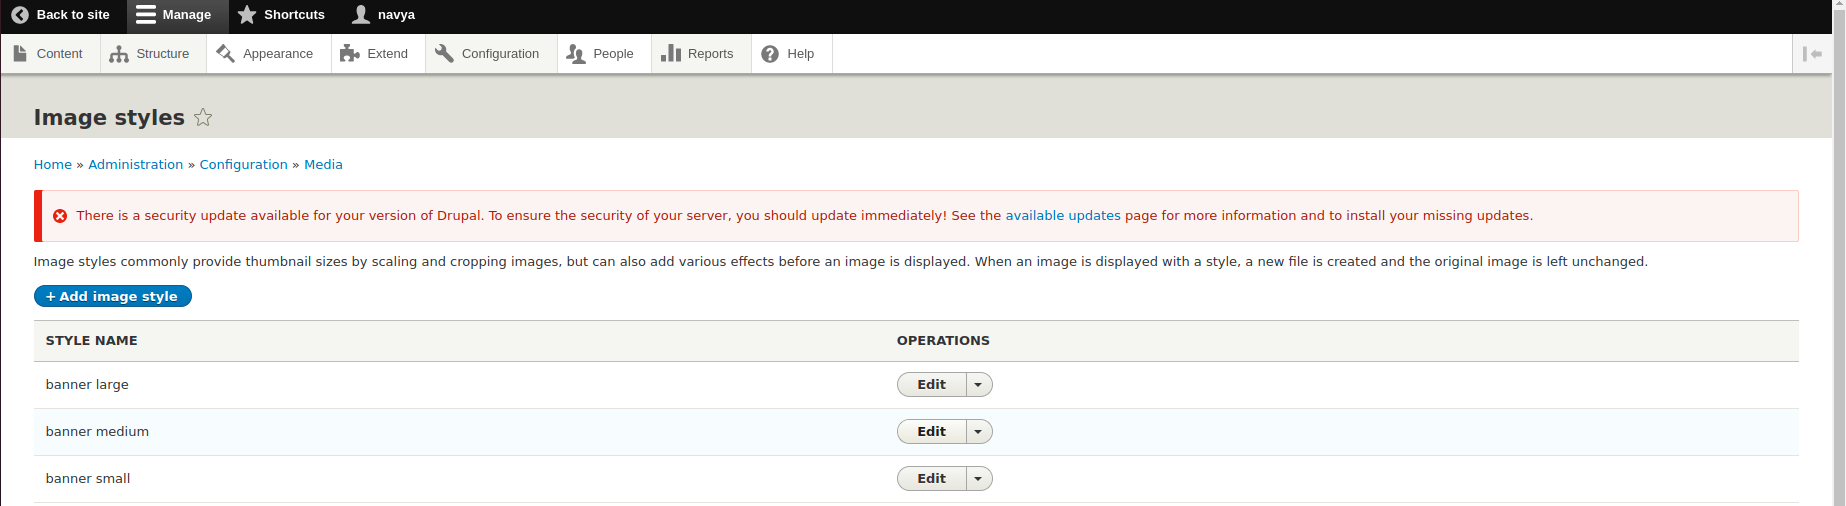
Step:1 select the image style and do edit
Navigate to /admin/config/media/image-styles
Step:2 select new effect as convert
Click on the new effect and select the convert option then go for add.
Step:3 select webp
After that, you will be navigated to one form which asks you to convert the image format as shown below. So select webp and save the configurations.

We need to follow the same procedure for all the available image styles.
Result analysis
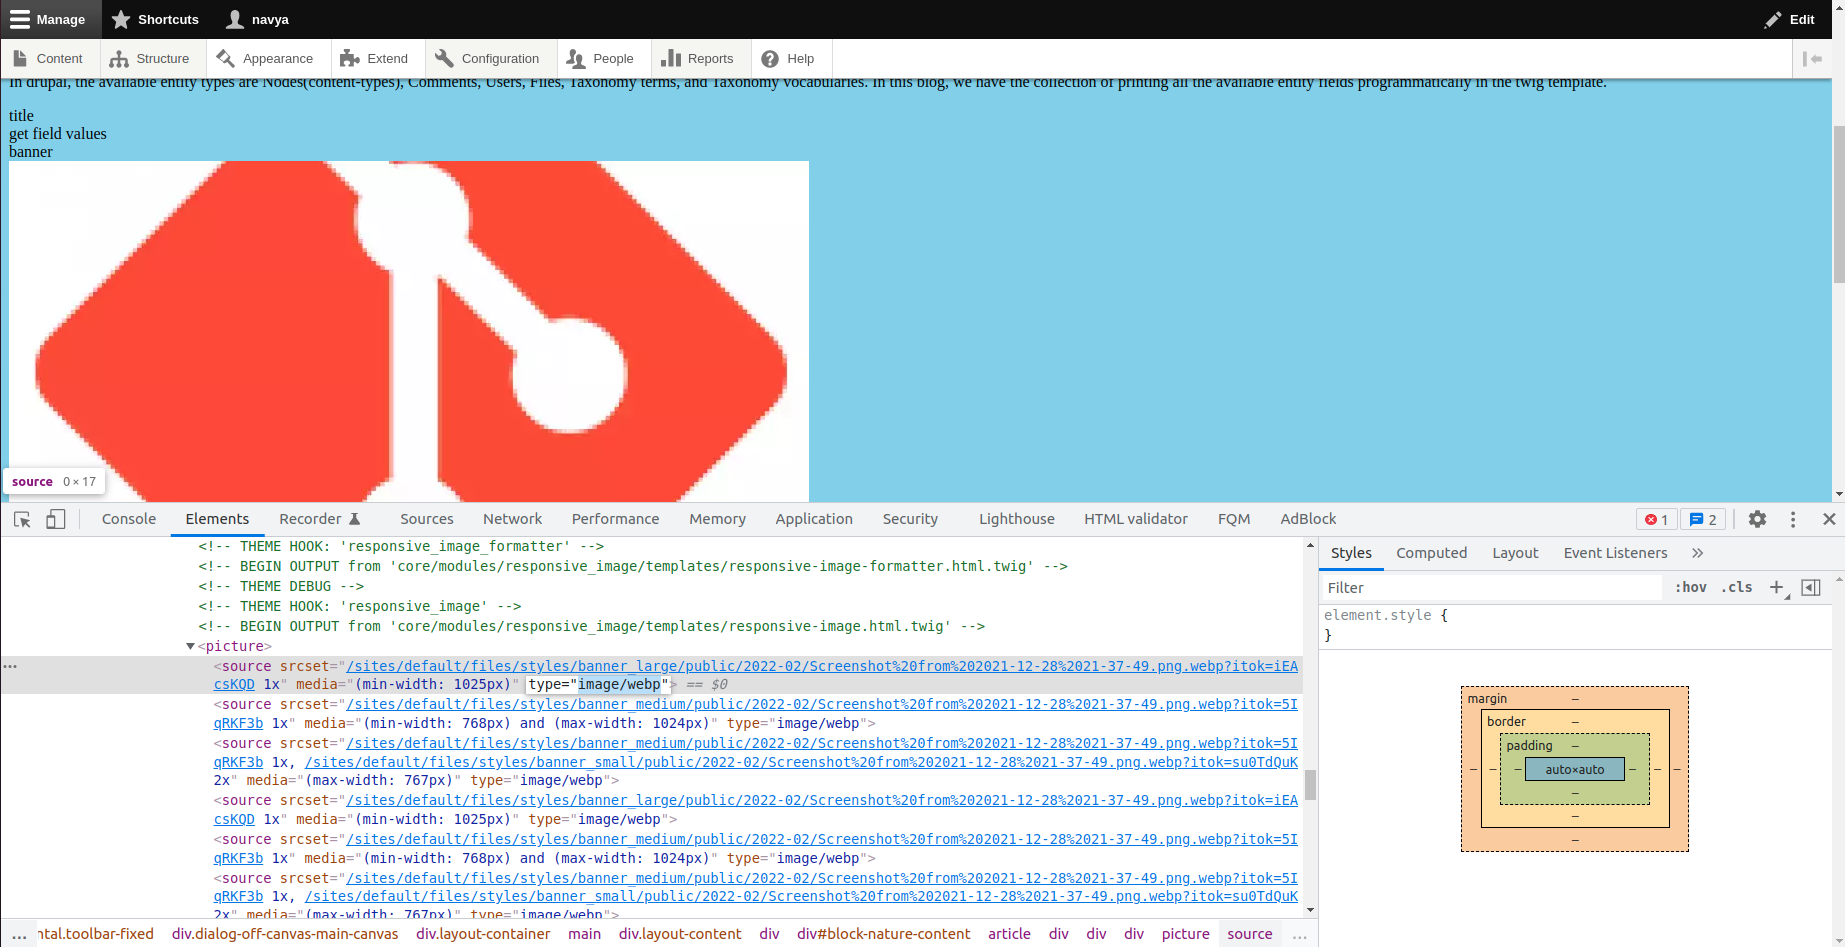
If you can able to see the webp extension in the image source path in your drupal site, then you have successfully created the webp image formats. Here is the screenshot that gives you a clear analysis.
In the inspector you can see the webp extension in the image source, this results that your .png image format being changed to .webp as shown in the below screenshot.

We can also check for the type of image that is highlighted in the inspector. So here the image is configured with the responsive image blog so I have applied webp format for all the image styles used as you can see in the inspector results.
Finally, I want to conclude that, serving next-gen image formats will help to improve your website performance and can also pass the google page insights audits. This will help your site to get a better rank.

Comments