Find a detailed explanation of all the available methods to implement a custom font in Drupal 8 custom theme development and how to organize the font libraries.
First, we'll look into all of the options and then go for checking the font family is applied or not along with choosing the best practicing method.
Available methods:
- Rendering fonts with CDN link via libraries.yml
- Rendering fonts with CDN link via html.html.twig
- Using font-face methods
1. Rendering fonts with CDN link via libraries.yml
Initially, we have to check whether the needed font family is available in Google Fonts, as well as the licensing. If the font family is available for free of cost then only we can take the cdn’s and use them in our project. If the required font family has some licensing formalities then we need to check with the client and get the required font family cdn with all the required font styles.
Now I’m taking an example of one available font family from google and will proceed with the next steps. So the font family I’m taking from google is Ubuntu and it is free of cost we can take that from google.
First, go to google and then type your font family name. For example, mine is Ubuntu and I’ll go with Ubuntu google fonts and then you can select the Ubuntu font family after that you will be redirected to the fonts page. You can see this in the below screenshot. Fig.1 get the fonts from google
Select all the required font styles and after that, you will get a cdn link with all the selected styles and you can take the link from here as shown below.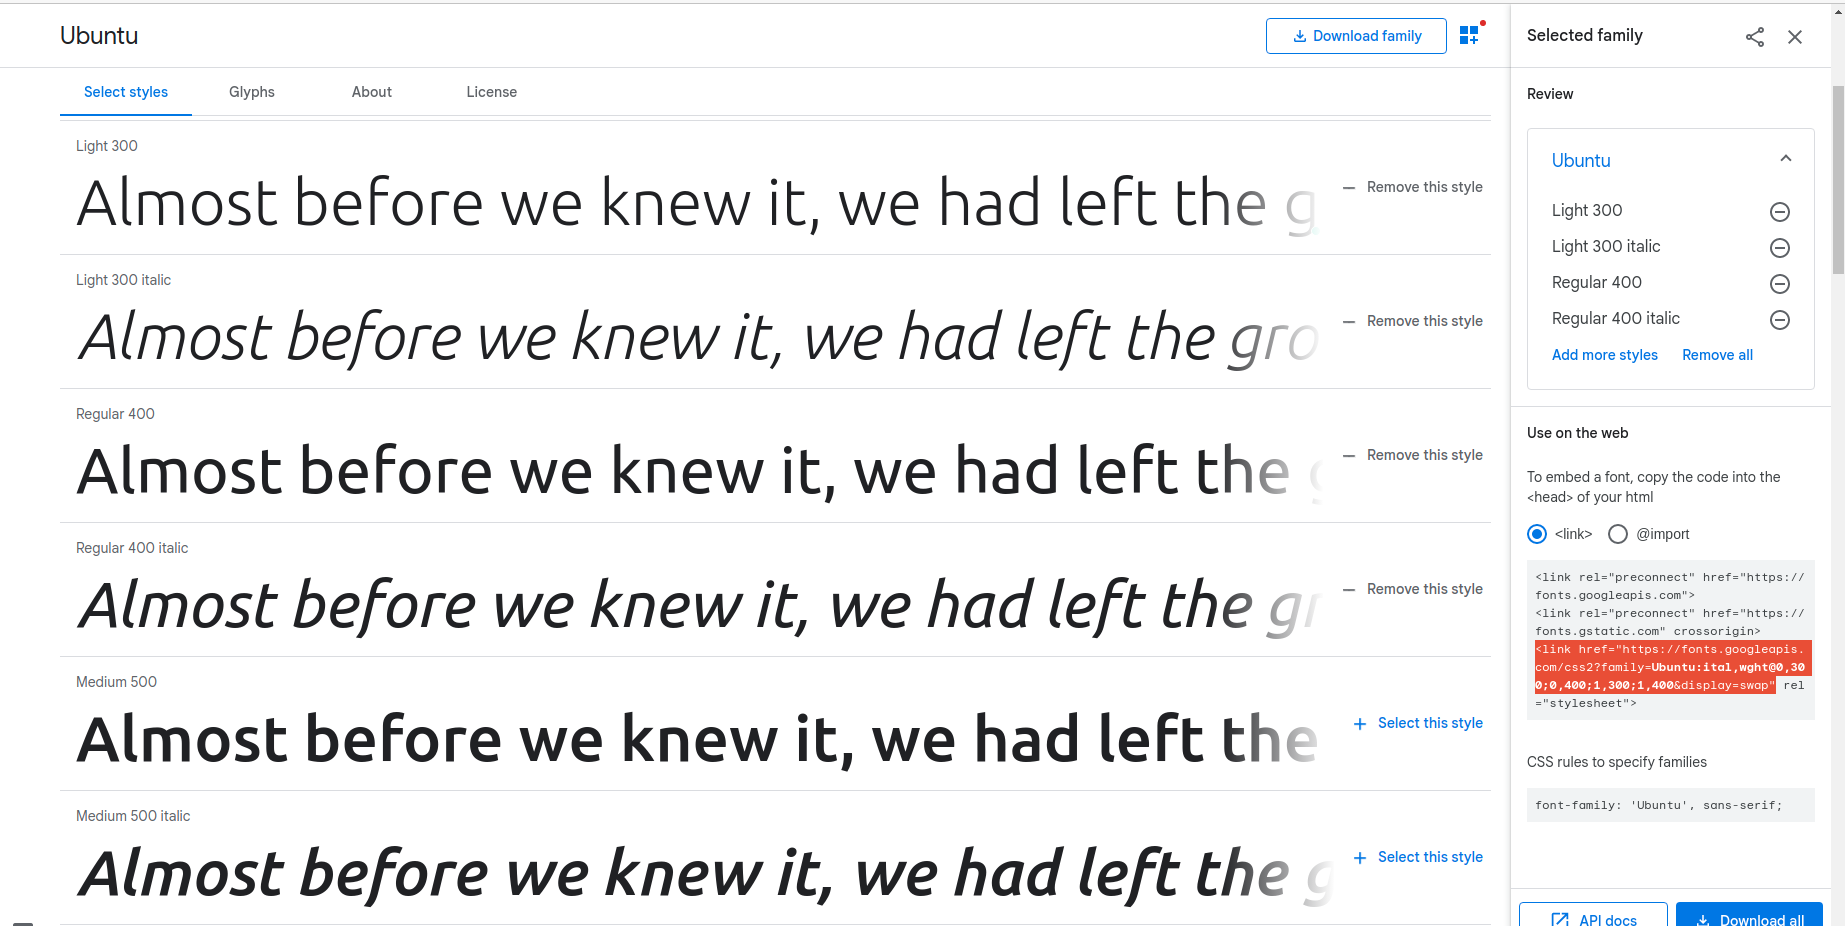
Fig.2 select the required styles
After copying the cdn, go to your project, find the theme-name.libraries.yml file, and paste the cdn in this format.
font:
  css:
    theme:
    https://fonts.googleapis.com/css2?family=Ubuntu:wght@300;400;500;700&display=swap:
        { type: external, minified: true }
As Drupal developers, we need to give proper indentation while doing coding stuff in any drupal files.
After that do cache clear and check in your local site in the web browser whether the proper fonts are reflected or not. To check whether the fonts are reflected or not follow the below steps.
Steps to check whether the font family is rendered or not
- Go to your local site in the browser
- Do inspect
- Select elements in the developer tools
- On the right side, you can see the computed tab, open that
- Then at the end, you can see the render font family name
Look at the below screenshot for confirmation. This is my local site and at end you can see the rendered font family name is Ubuntu.

Fig.3: font-family rendered to the applied project
This is one of the methods to render font-family for the drupal sites. If the font family didn’t render with this procedure then you need to check in your drupal site version or any syntactical errors that you made. Still, you are facing the same problem then it is time to move to another approach and here it is. Please continue reading the next steps for a better solution.
2. Rendering fonts with CDN link via html.html.twig
If the previous method won't work fine then do the task with this method. As mentioned in the previous step, take the cdn from google fonts and follow the below steps.
- Open your project folder in the respective editor
- Find templates folder of your project
- Either in the system or in the layout folder you can find html.html.twig file
- Select that file and paste the cdn in the link as shown below
- <linkhref="//fonts.googleapis.com/css2?family=Ubuntu:wght@300;400;500;700&display=swap:" rel="stylesheet">
- Save the file and do cache clear
After all the steps, open your project in the browser, go to developer tools and check whether the font family is rendered or not in the computed tab as shown in Fig.3: font-family rendered to the applied project.
3. Rendering font family using font-face methods
There is another method to render font family in any site as well as in drupal also. Just follow the steps carefully to render fonts with the font-face method.
Step: 1 Download the fonts from google fonts
Instead of cdn here we have to download the fonts from the google fonts as shown below.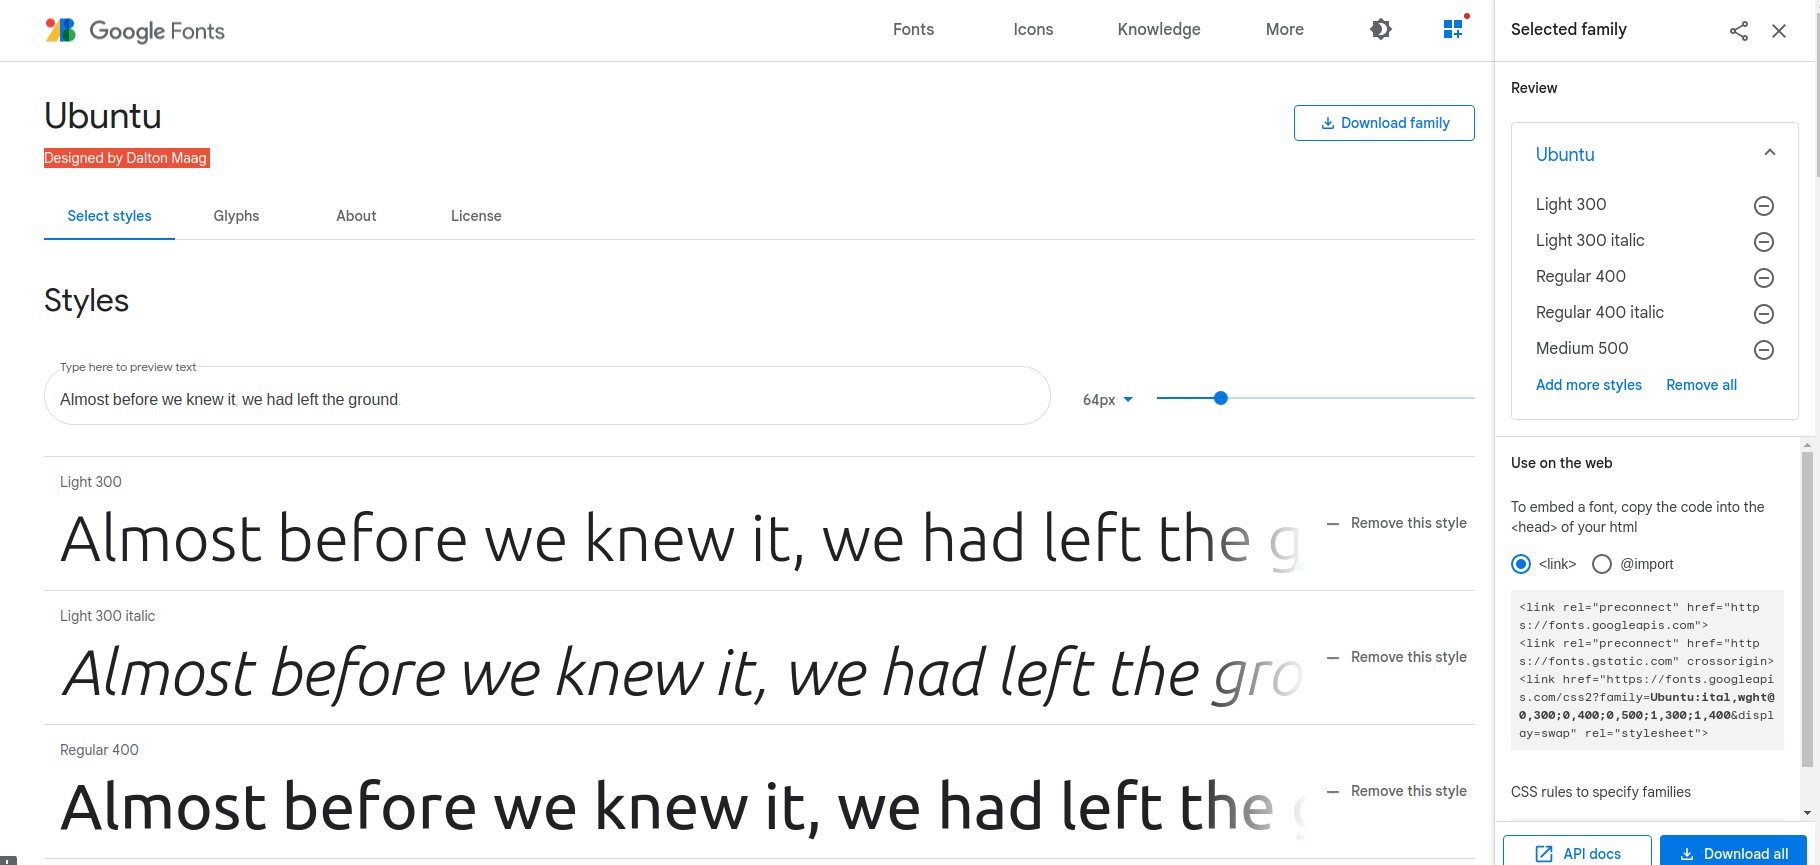
Fig:4 download font family
In the above screenshot, you can see the download button at the end, click to download the file. After that, a zip file is downloaded.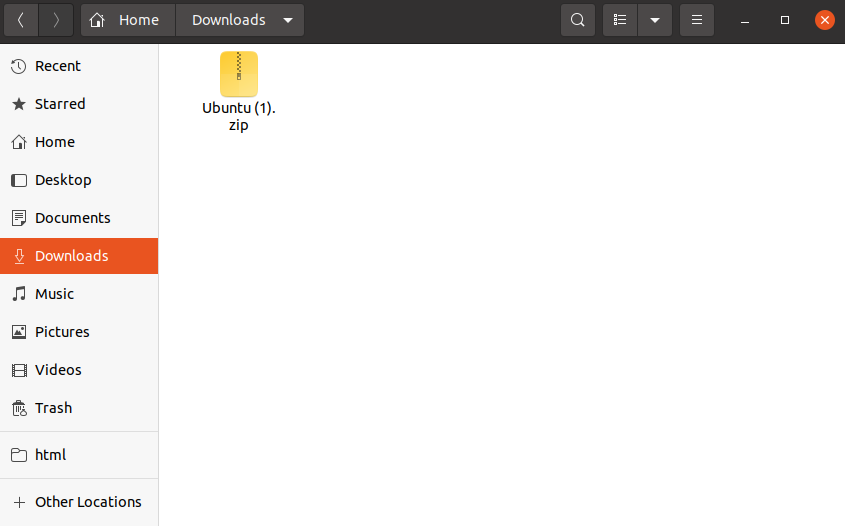
Fig:5 downloaded zip file
Step: 2 Extract the zip file
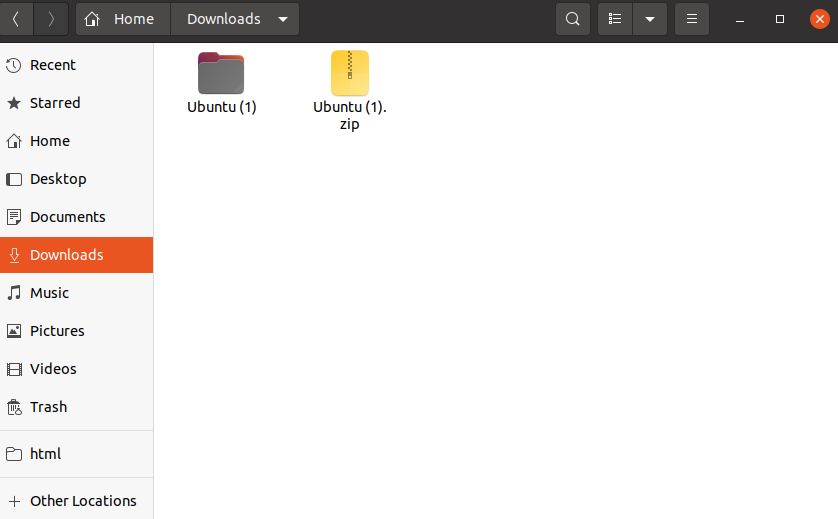
Fig:5 extracted zip file
Step: 3 convert the fonts using the font-to-web convertor
Go to google and search on font-to-web, this website will convert our fonts to otf files so that we can load the fonts for the site.
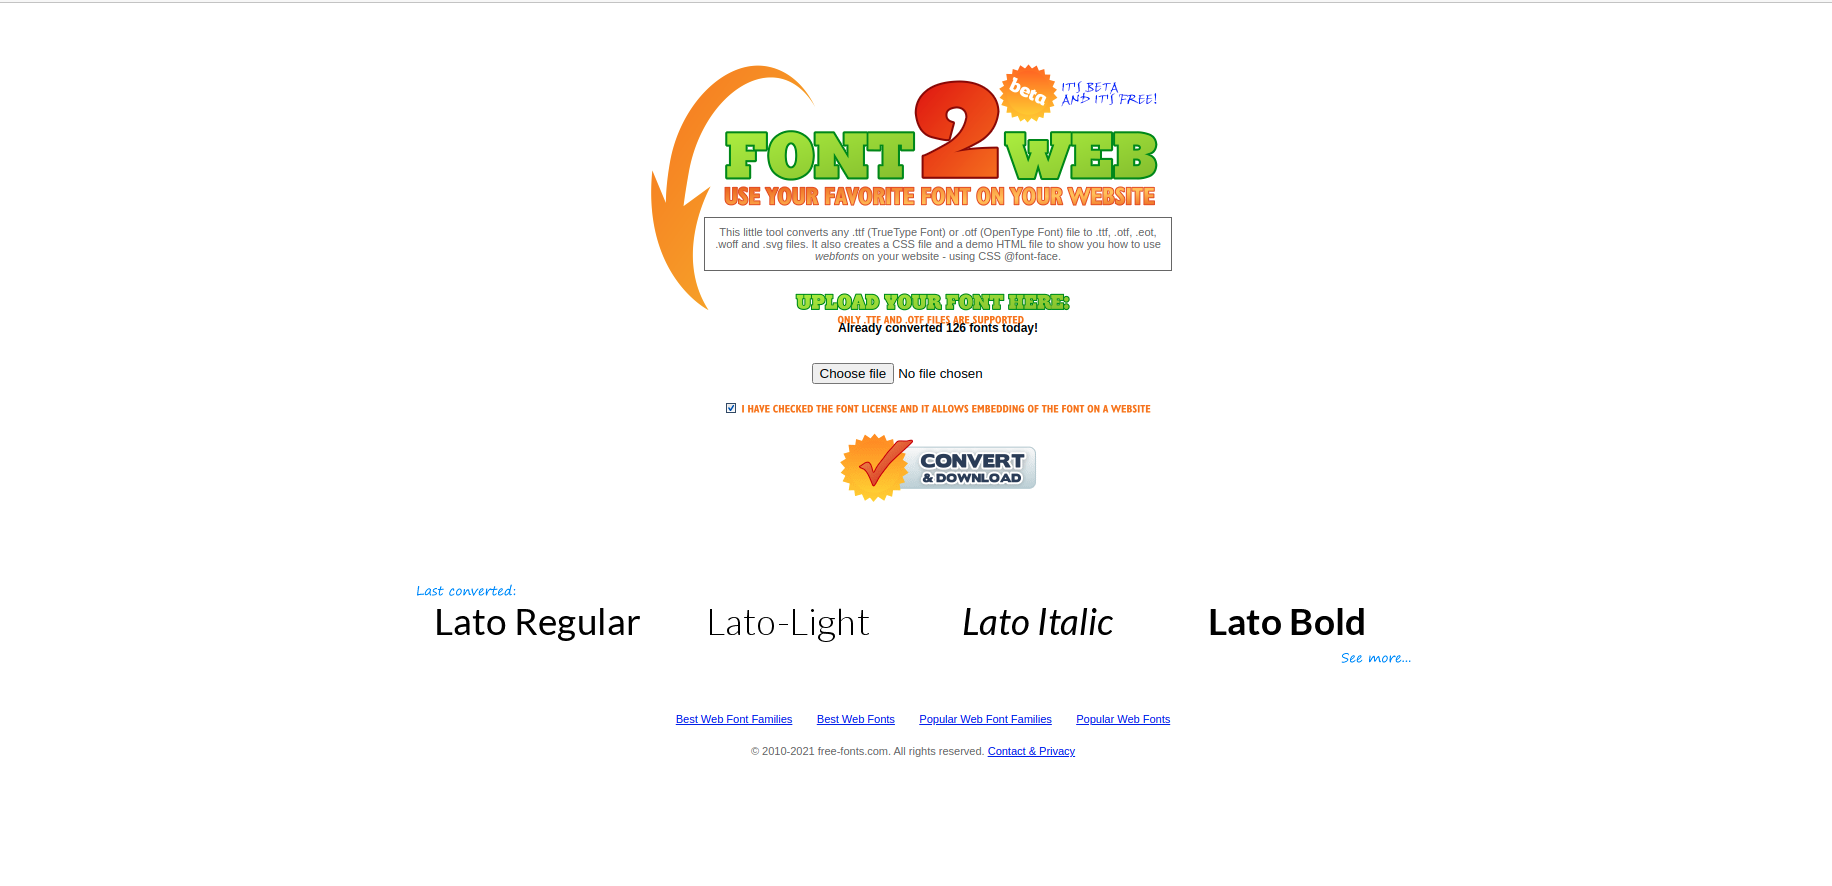
Fig:6 font-to-web
Choose the individual fonts from an extracted folder as shown below.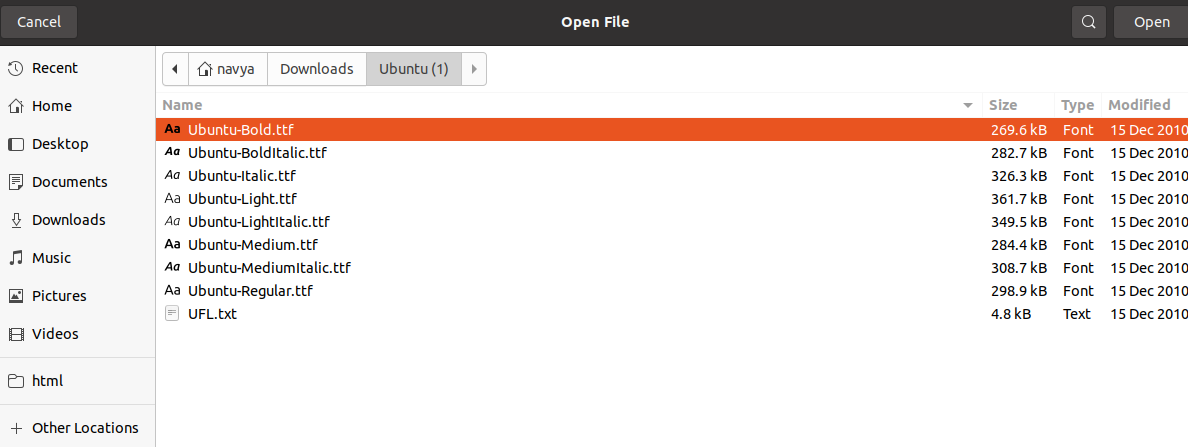
Fig:7 choosing files
Then click on the convert button, then automatically the converted file will be downloaded. You can see in the below screenshot the selected file is Ubuntu Bold and in the end, there is a zip file that has started downloading with all the required extensions.
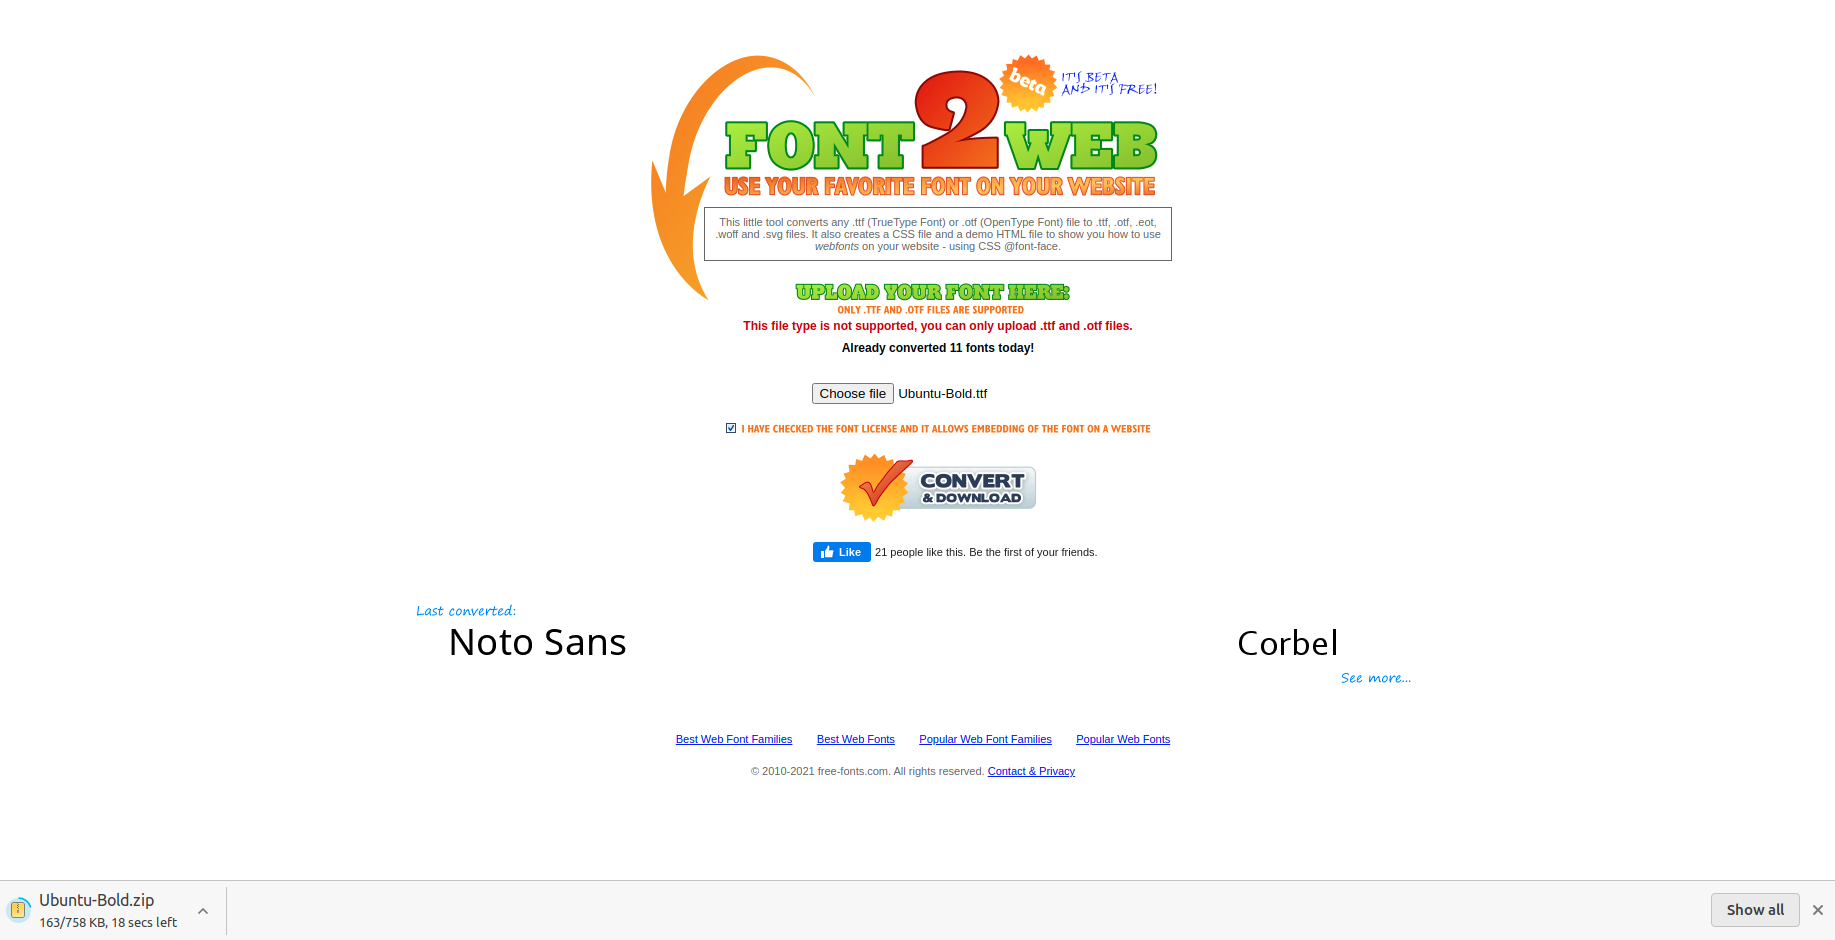
Fig:8 downloading converted files
Step: 4 Extract the downloaded zip file
This zip file will give you the fonts with the extension of .eot, .otf, .ttf, and some SVG and also required CSS. We should apply the CSS in the downloaded format only.
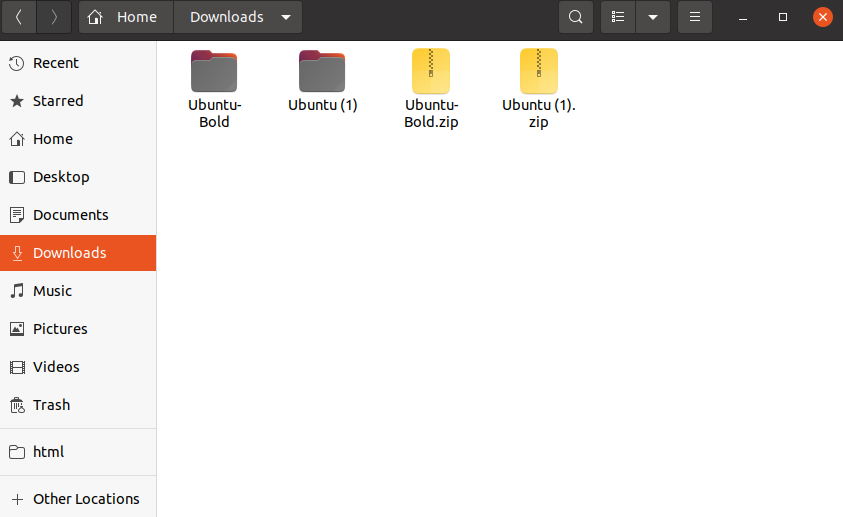
Fig:9 extracted font folder
Now do the same procedure for all the required font styles and extract the folders.
Step: 5 Copy the font folders in your project folder
After downloading and extracting all the folders of the required family then go to your project and create a folder by the name fonts in this path web/themes/custom/your_theme. Now you have a folder by the name fonts and copy all the font-style folders in your project folder path as shown below.
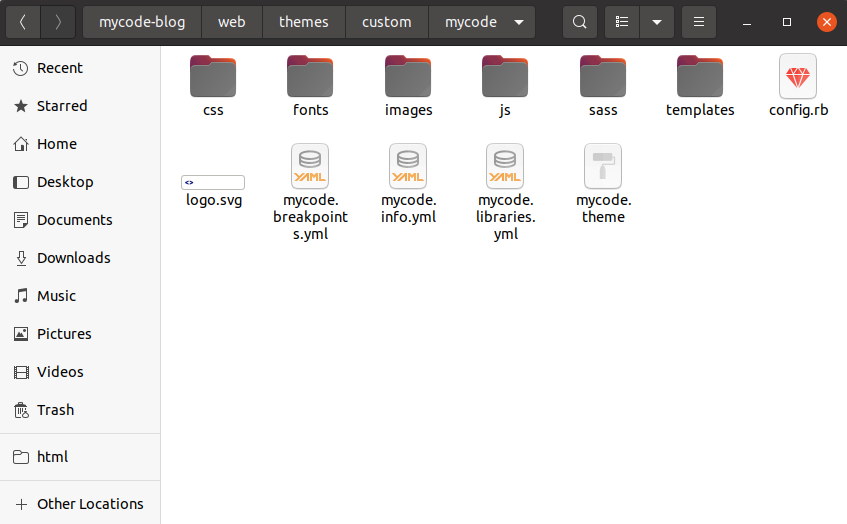
Fig:10 creating fonts folder in the project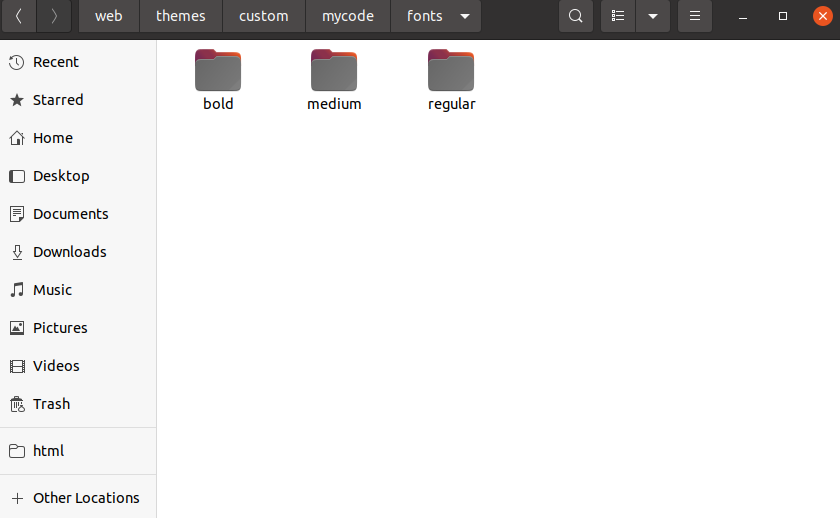
Fig:11 pasting font-style folders in the fonts folder
Step: 6 Write CSS using font-face
Now you have all the required font styles in individual folders. So in your CSS file write the font face code and apply the font family name as shown below.
For example, I’m writing the CSS code for ubuntu regular you can follow the same procedure for all the remaining font styles and apply them to your entire project
Style.css
@font-face {
/*defining font family name*/
    font-family: 'Ubuntu-Regular';
/*giving the source url of the font-family I have given the source path of my project, */
    src: url('/themes/custom/themename/fonts/regular/Ubuntu-Regular.woff');
    src: url('/themes/custom/themename/fonts/regular/Ubuntu-Regular.ttf') format('truetype'), url('/themes/custom/themename/fonts/regular/Ubuntu-Regular.eot') format('eot'), url('/themes/custom/themename/fonts/regular/Ubuntu-Regular.svg') format('svg');
/*respective font styles*/
    font-weight: normal;
    font-style: normal;
    font-display: swap;
}
So I want this Ubuntu regular font family for my entire project so that I’m applying the font family in this way in my style.css file
html, body {
    font-family: 'Ubuntu-Regular', sans-serif;
}
Now we have to check whether the font family is applied for the site or not. Follow the same steps mentioned in Steps to check weather the font family is rendered or not
In my project, the fonts are rendered as shown below.

Ffig:12 font family rendered for the HTML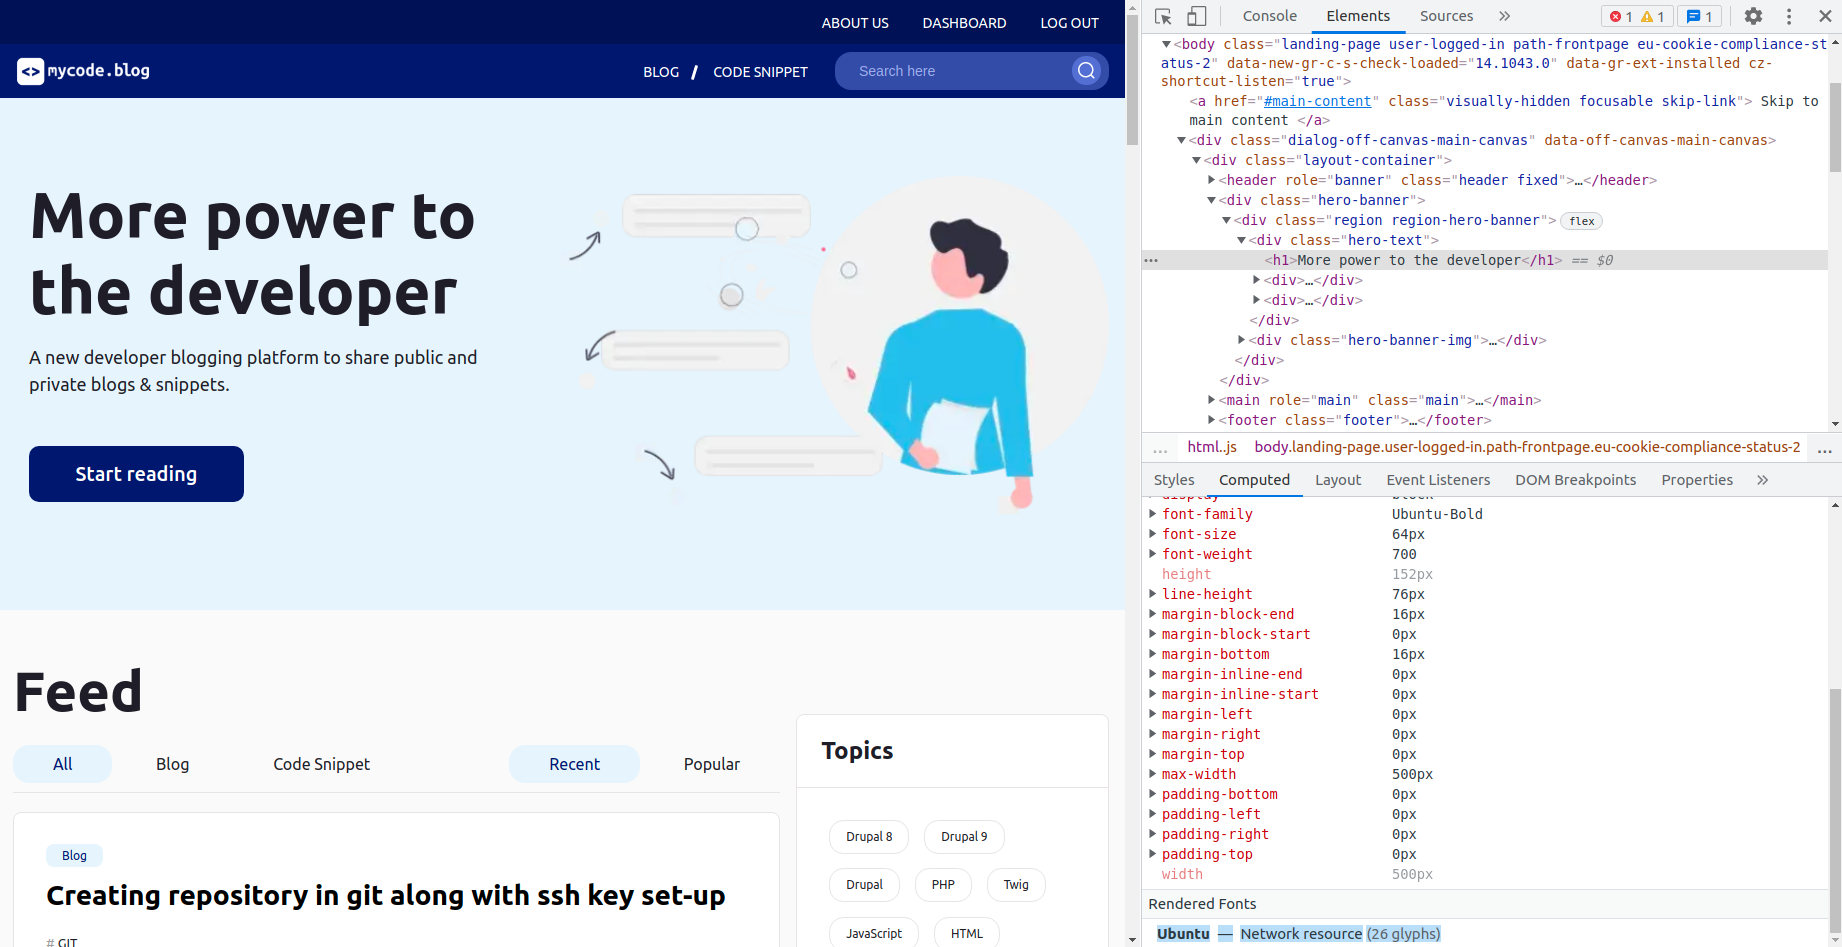
Ffig:13 font family rendered for the element
Conclusion:
All three methods are more popularly used methods but I suggest using the third method that is rendering the font family using the font-face method because cdn fonts may reduce the website performance with heavy traffic whereas the font face method is very simple and load the fonts without decreasing the website performance.

Comments