In this blog, we will learn how to create a user programmatically with multiple fields like text, image, and date in Drupal 8 and 9 using a custom module.
Create a custom module:
Modules in Drupal are located in the /modules folder. We'll create two custom and contrib folders inside the /modules folder. Additional modules from drupal.org will be stored in the contrib folder, and our custom modules will be stored in the custom folder.
Create a .info.yml file:
Let's name our custom module "createuser". Create the folder /modules/custom/createuser. In this folder, we'll need to create a createuser.info.yml file and add the following code.
name: Create User
type: module
description: User is created programmatically with fields.
package: Custom
core_version_requirement: ^8.8.0 || ^9
Enable a module:
For all possible ways to enable a module click here.
Using the Manage administrative menu, navigate to the Extend page in the list of modules, search the create user module and then select its checkbox. Scroll down to the bottom of the webpage, and then click Install.
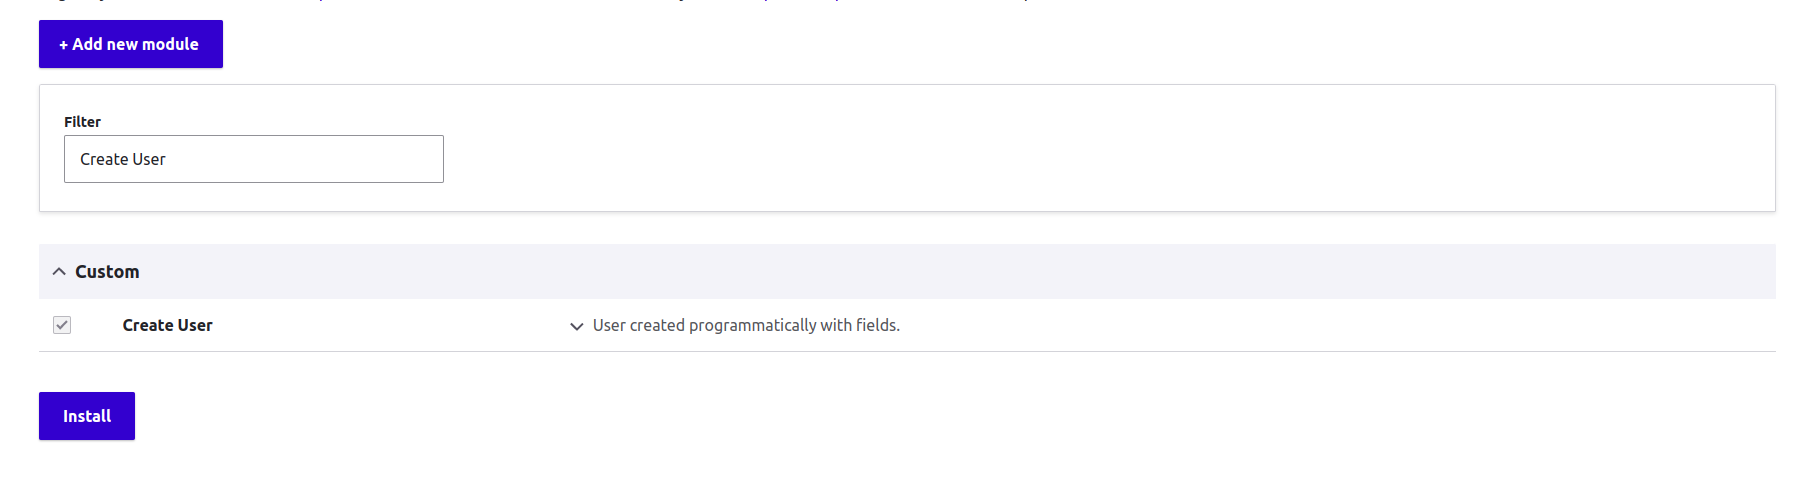
The Custom module Create User has been enabled successfully.
Declaring a route:
The routing information is saved in createuser/createuser.routing.yml.
createuser:
  path: /add/createuser/fields
  defaults:
    _controller: Drupal\createuser\Controller\PostController::newuser
  requirements:
    _permission: 'access content'
Adding a controller:
Create a new subfolder "modules/custom/createuser/src/Controller." Create a file called "PostController.php" in this folder with the following content:
<?php
namespace Drupal\createuser\Controller;
use Drupal\Core\Controller\ControllerBase;
use Drupal\Core\File\FileSystemInterface;
use \Drupal\file\Entity\File;
use \Drupal\user\Entity\User;
class PostController extends ControllerBase {
public function newuser() {
$data = file_get_contents("/home/lakshmi/Pictures/user.jpeg");
$file = file_save_data($data, "public://image.png", FileSystemInterface::EXISTS_REPLACE);
// Create a user object and save it.
$user = User::create([
'name' => 'username',
'pass' => 'userpassword',
'mail' => 'email',
'status' => 1,
'roles' => ['administrator'],
//here user_picture is the machine name of the image field.
'user_picture'=> [
'target_id' => $file->id(),
'alt' => 'userpicture',
'title' => 'create user with imagefield'
],
// here field_date_of_birth is the machine name of the date field.
'field_date_of_birth'=> ['1999-12-31',],
]);
$user->save();
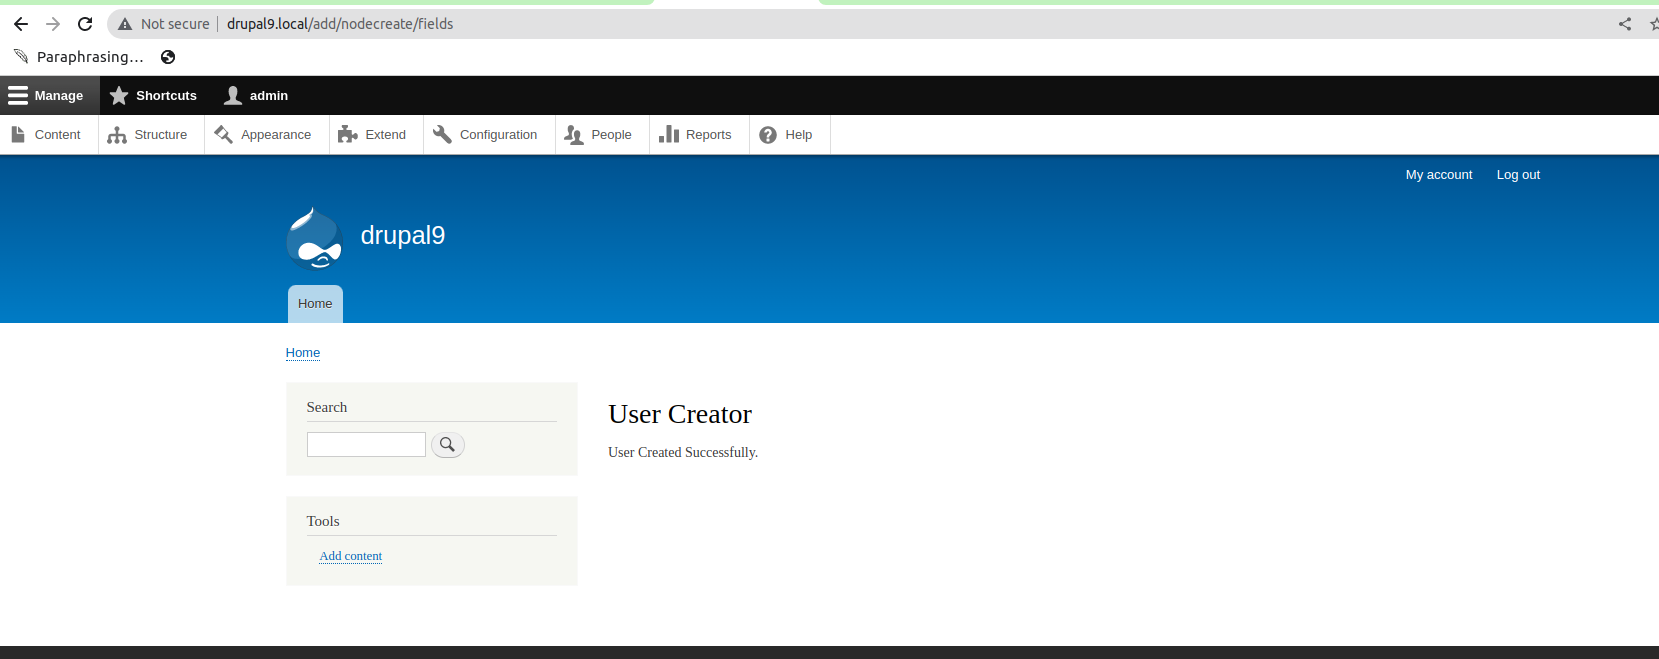
return [
'#title' => 'User Creator',
'#markup' => 'User Created Successfully.',
];
}
}After clearing the cache, you should be able to see your customized page.
After the user is created successfully, then navigate to the /admin/people page.
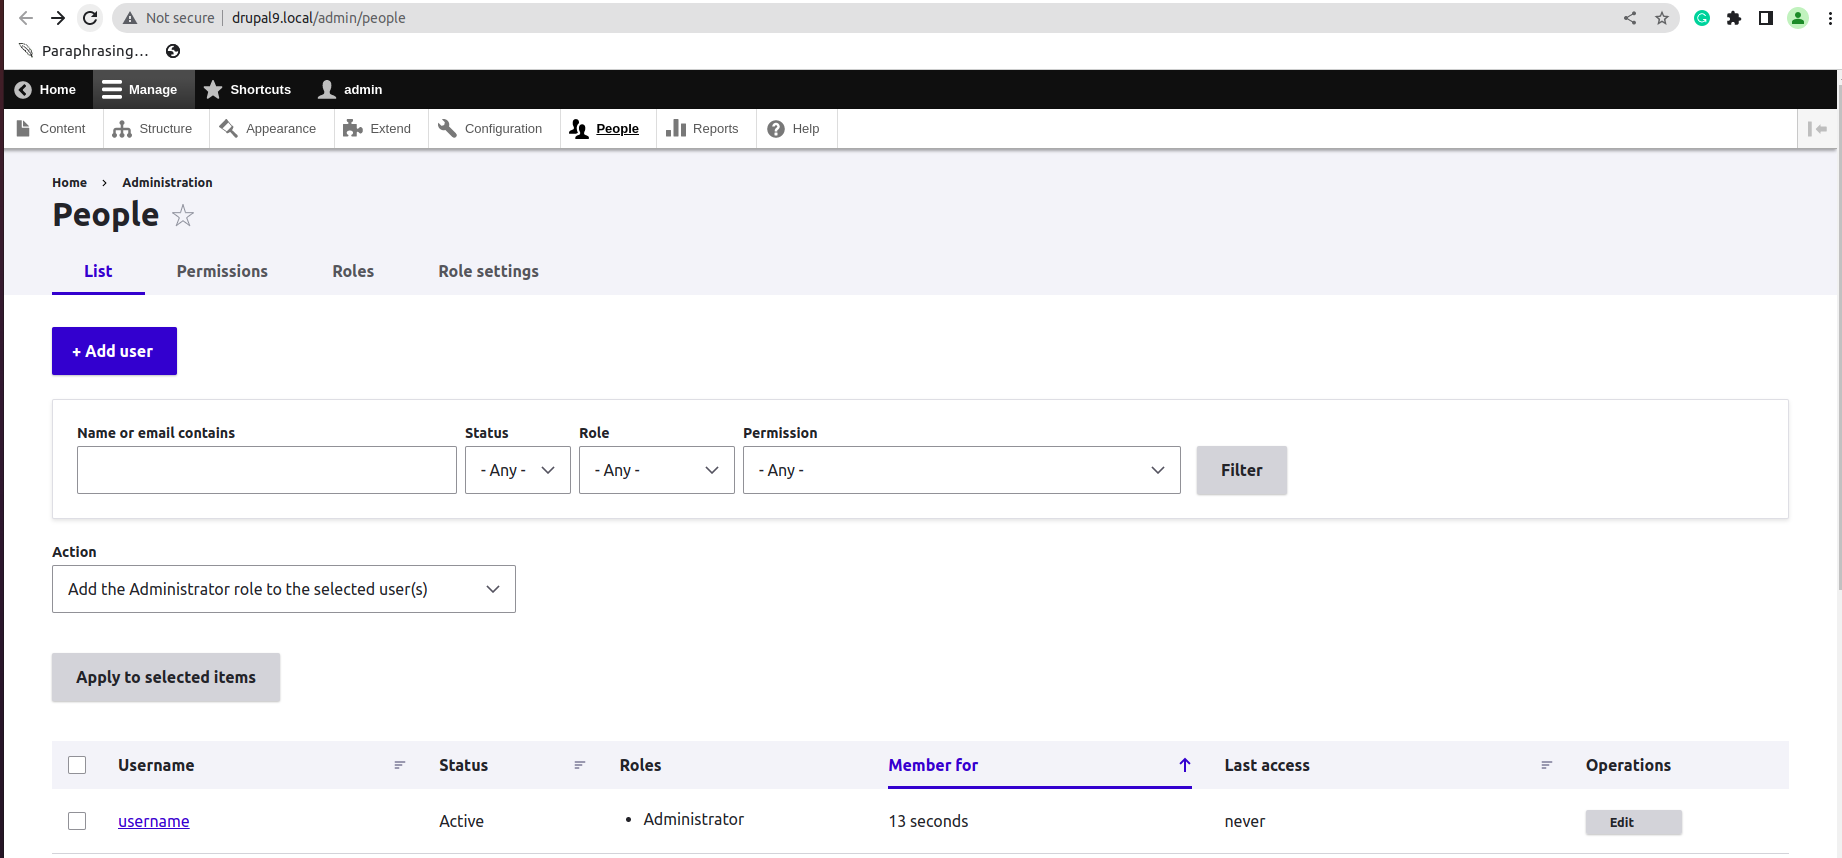
Click "username" then the output should be:
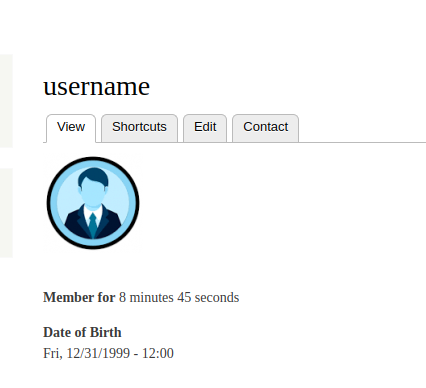
Finally, programmatically created user with text, date, and image upload fields successfully.

Comments